At this point you should have gone through a few full builds on your Projet x60 series 3D printer and the feeder will need to be refilled with the Visijet PXL Core material. This is normal and should be a part of your routine maintenance and pre-printing check list. How often you will need to fill the feeder with Core will depend on your usage and the amount of materials you are using per print. There are many ways to save cost and reduce the amount of Core and binder used for each print but that is a blog post on its own.
Safely Handling Visijet PXL Core
Before we start talking about adding Core to the printer we should talk about taking the proper safety precautions while handling the Core material. The Visijet PXL Core is a powder type material similar to plaster and is non-toxic so coming in contact with the Core shouldn’t be a big concern compared to other printing technologies but it is best to follow the safety guidelines while handling the material during model removal and maintenance. You should wear nitrile gloves to minimize skin contact, safety goggles to protect your eyes, a face mask to avoid inhaling the Core material and a lab coat to protect your clothes from the Core material during handling.
The Visijet PXL Core material can be an irritant if large quantities of it are inhaled, causing your throat to become scratchy, so it is best to avoid blowing the powder into the air while de-powdering and handling. If you come into skin contact with the Core, washing with soap and water will easily remove the material. For more information on the Visijet PXL Core material you should review the Material Safety Data Sheet found on 3D Systems’ Info Center.
Before Adding Visijet PXL Core
Now that we have gotten the safety procedures out of the way, we can move on to adding the Visijet PXL Core material into your CJP 3D Printer. It is best to start by making sure the debris separator is cleaned and emptied then make sure the excess powder around the build chamber, on the build platform, deck and de-powdering station have been vacuumed using the user hose.
Excess Core From Build Chamber Should Be VacuumedVacuum The Excess Powder on the De-powdering Station
Run the “Clean Parts” menu option until the debris separator stops pulling material through it. This will make sure the de-powdering station overflow and hoses are clear of any powder that may have been left from previous usage. Next you will need to check the front overflows, by looking inside the grill and making sure it is empty. If it is not empty you can run the “Empty Front Overflow” command and the “Empty Rear Overflow” command found in the Service Menu or by rebooting the printer. Once you have checked the overflows and recovered all the excess Core material around the printer we can start to add the Core material from the Visijet PXL Core eco-drum.
Adding Visijet PXL Core
To add the Core material, first place the eco-drum on the build tray or inside the de-powdering station and then select the “Vacuum” option on the LCD menu.
Running the Vacuum Command On The Projet x60 Series 3D Printer
Once the vacuum is running take the user hose and begin to vacuum the Core from the eco-drum.
Adding The Visijet PXL Core From The Eco-Drum
While vacuuming, make sure you keep an eye on the debris separator and the feeder level displayed on the LCD screen.
While Vacuuming The Visijet PXL Core Into The Projet x60 Series Printer It Will Display The Feeder Level
You can fill the printer up to 8 inches but once it gets passed 8 inches, you will get the below feeder is full message with an option to keep the vacuum on.
Feeder Will Display A Warning When Full
Remove the user hose from the eco-drum and turn off the vacuum. If you were to continue to add powder the feeder will display a “Feeder Limit” alert message and shut the vacuum off.
When You Keep Adding Powder After the Feeder Displays The Feeder Full Message
When the feeder reaches its limit, it will shut off and you will not be able to run the vacuum again until room is made by running the “Fill Bed” command. If the feeder is filled to the top and you try to print a model, it will fail at the empty overflow operation it performs before each print job. Also, failing to empty the overflows may cause the overflows to jam and the PXL Core material will start to spill all over the deck and around the fast axis causing a mess which will damage your print heads or printed model. This is why it is best to add the powder cautiously around the 7.5-inch mark and wait to let the debris separator empty completely before adding more powder, only vacuuming in small spurts until you reach the 8-inch limit.
Once the printer is filled up to 8 inches you are ready to send your print job and continue the production of your 3D models. Optionally, you can run the “Fill Bed” command to speed up the start of your next print job.
As always if you are running into any issues or have any questions please don’t hesitate to contact us.
As you use your Projet x60 series 3D printer more and more you may encounter a few errors here and there, this is normal and can commonly occur after long printing sessions. The reason for the errors can vary from not following the maintenance procedure and not cleaning the printer after every print job to various parts wearing out and reaching the end of its life. A lot of the errors are usually cleaning related so it is always best to follow the maintenance procedures and try to resolve the error using the troubleshooting guides found in chapter 7 of the user manual. If you still can’t get passed the error, then it is best to contact us for remote or onsite support.
For us to support you we will need a few key pieces of information to get a good idea of what is going on with your printer and how we can resolve your issues properly:
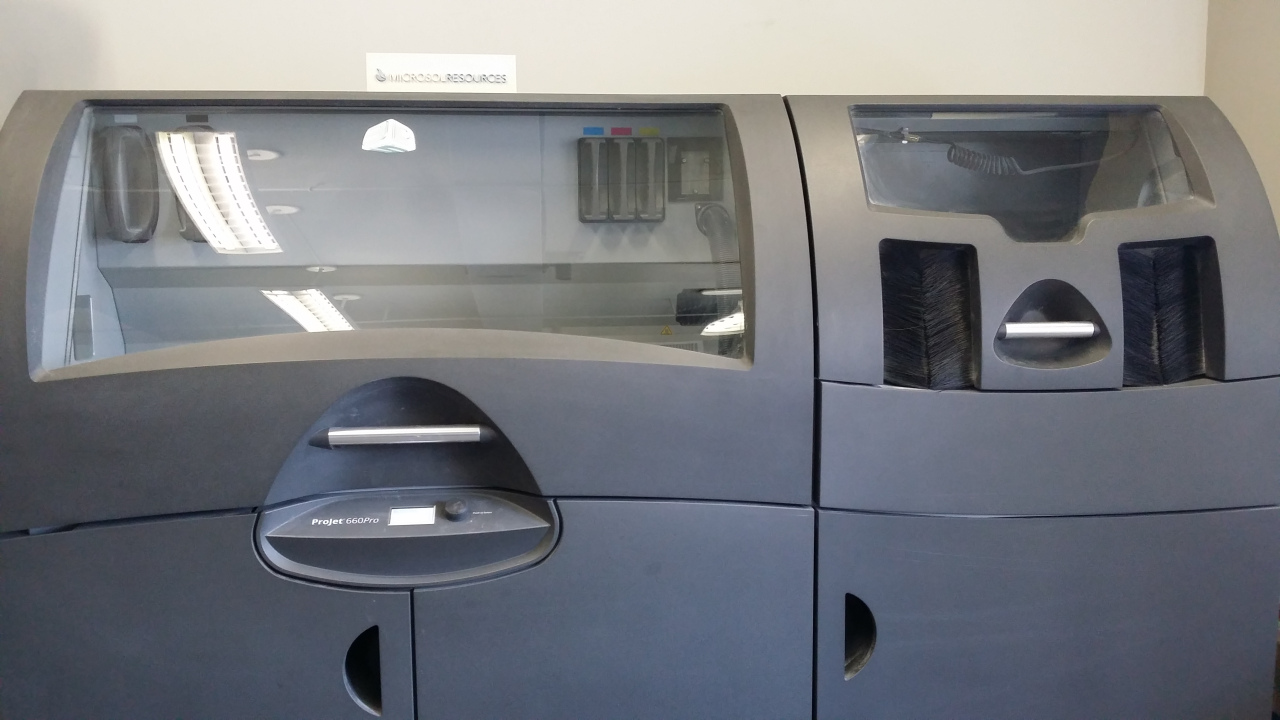
Printer Model
Found on the front of the machine near the control knob
Location of Projet x60’s Model Number
Printer Serial Number
Usually the printer’s name or found on the back of the machine near the bottom.
Finding Your Projet x60’s Name
Company Name and Contact Information
Best method to reach you to provide a quick response time
Printer’s Service Log File
Found in 3D Print under Tools tab>Service>select View Printer Log and save file as.
Finding Your Projet x60’s Log FileProjet x60 Series Printer Log File Output
Detailed Description of Problem/Error and Steps Taken to Resolve the Error
Provides us with a good idea of what is going on and possible causes/solutions.
Photos of the Build Chamber including the Fast Axis, Service Station, Spittoon and Carriage
We can analyze further and see something that may have been missed.
Video of the Error as It is Happening (e.g. Motion Errors, Spread Errors, etc.)
We can further analyze the issue and see or hear something that may have been missed.
The following files that we may request are not essential but may provide more insight onto what may be causing your errors:
Printer’s .INI File
Found in 3D Print under Tools tab>Service>select Edit.ini and save file as.
Finding Your Projet x60 Series .ini FileProjet x60’s Edit.ini File Open
Printers Spread.CSV File
Found in 3D Print under Tools tab>Service>select Receive File and enter “spread.csv” (without quotes) and save file
Finding Your Projet x60’s Receive File CommandProjet x60 Series – Entering Spread.CSV File
Print Head Report
Found in 3D Print under Tools tab>Service >select Print Head Report and take a screenshot
Finding Your Projet x60’s Print Head ReportProjet x60 Series Print Head Report
Binder/Core Type
Name on packaging (e.g., visjet pxl or zb63)
Binder/Core Expiration Dates
Found on Packaging (near top), consumables only have a 1 year shelf life.
Projet x60 Series Binder Cartridge Expiration
You can send the files to our 3DPrinting@microsolresources.com email address and we will be in touch as soon as possible. However, if it is urgent you can call in to our office @ 212-465-8734 and we can assist you on the phone.
After reviewing the received files, we will recommend steps to resolve the problem remotely, or narrow down what the issues are and to determine which replacement parts may be needed for an onsite visit. These files should be sent with every new case being brought to our attention so we can provide you with the fastest and easiest support possible. Remember the more information we can get the more likely we will be able to resolve your issue during one onsite visit.
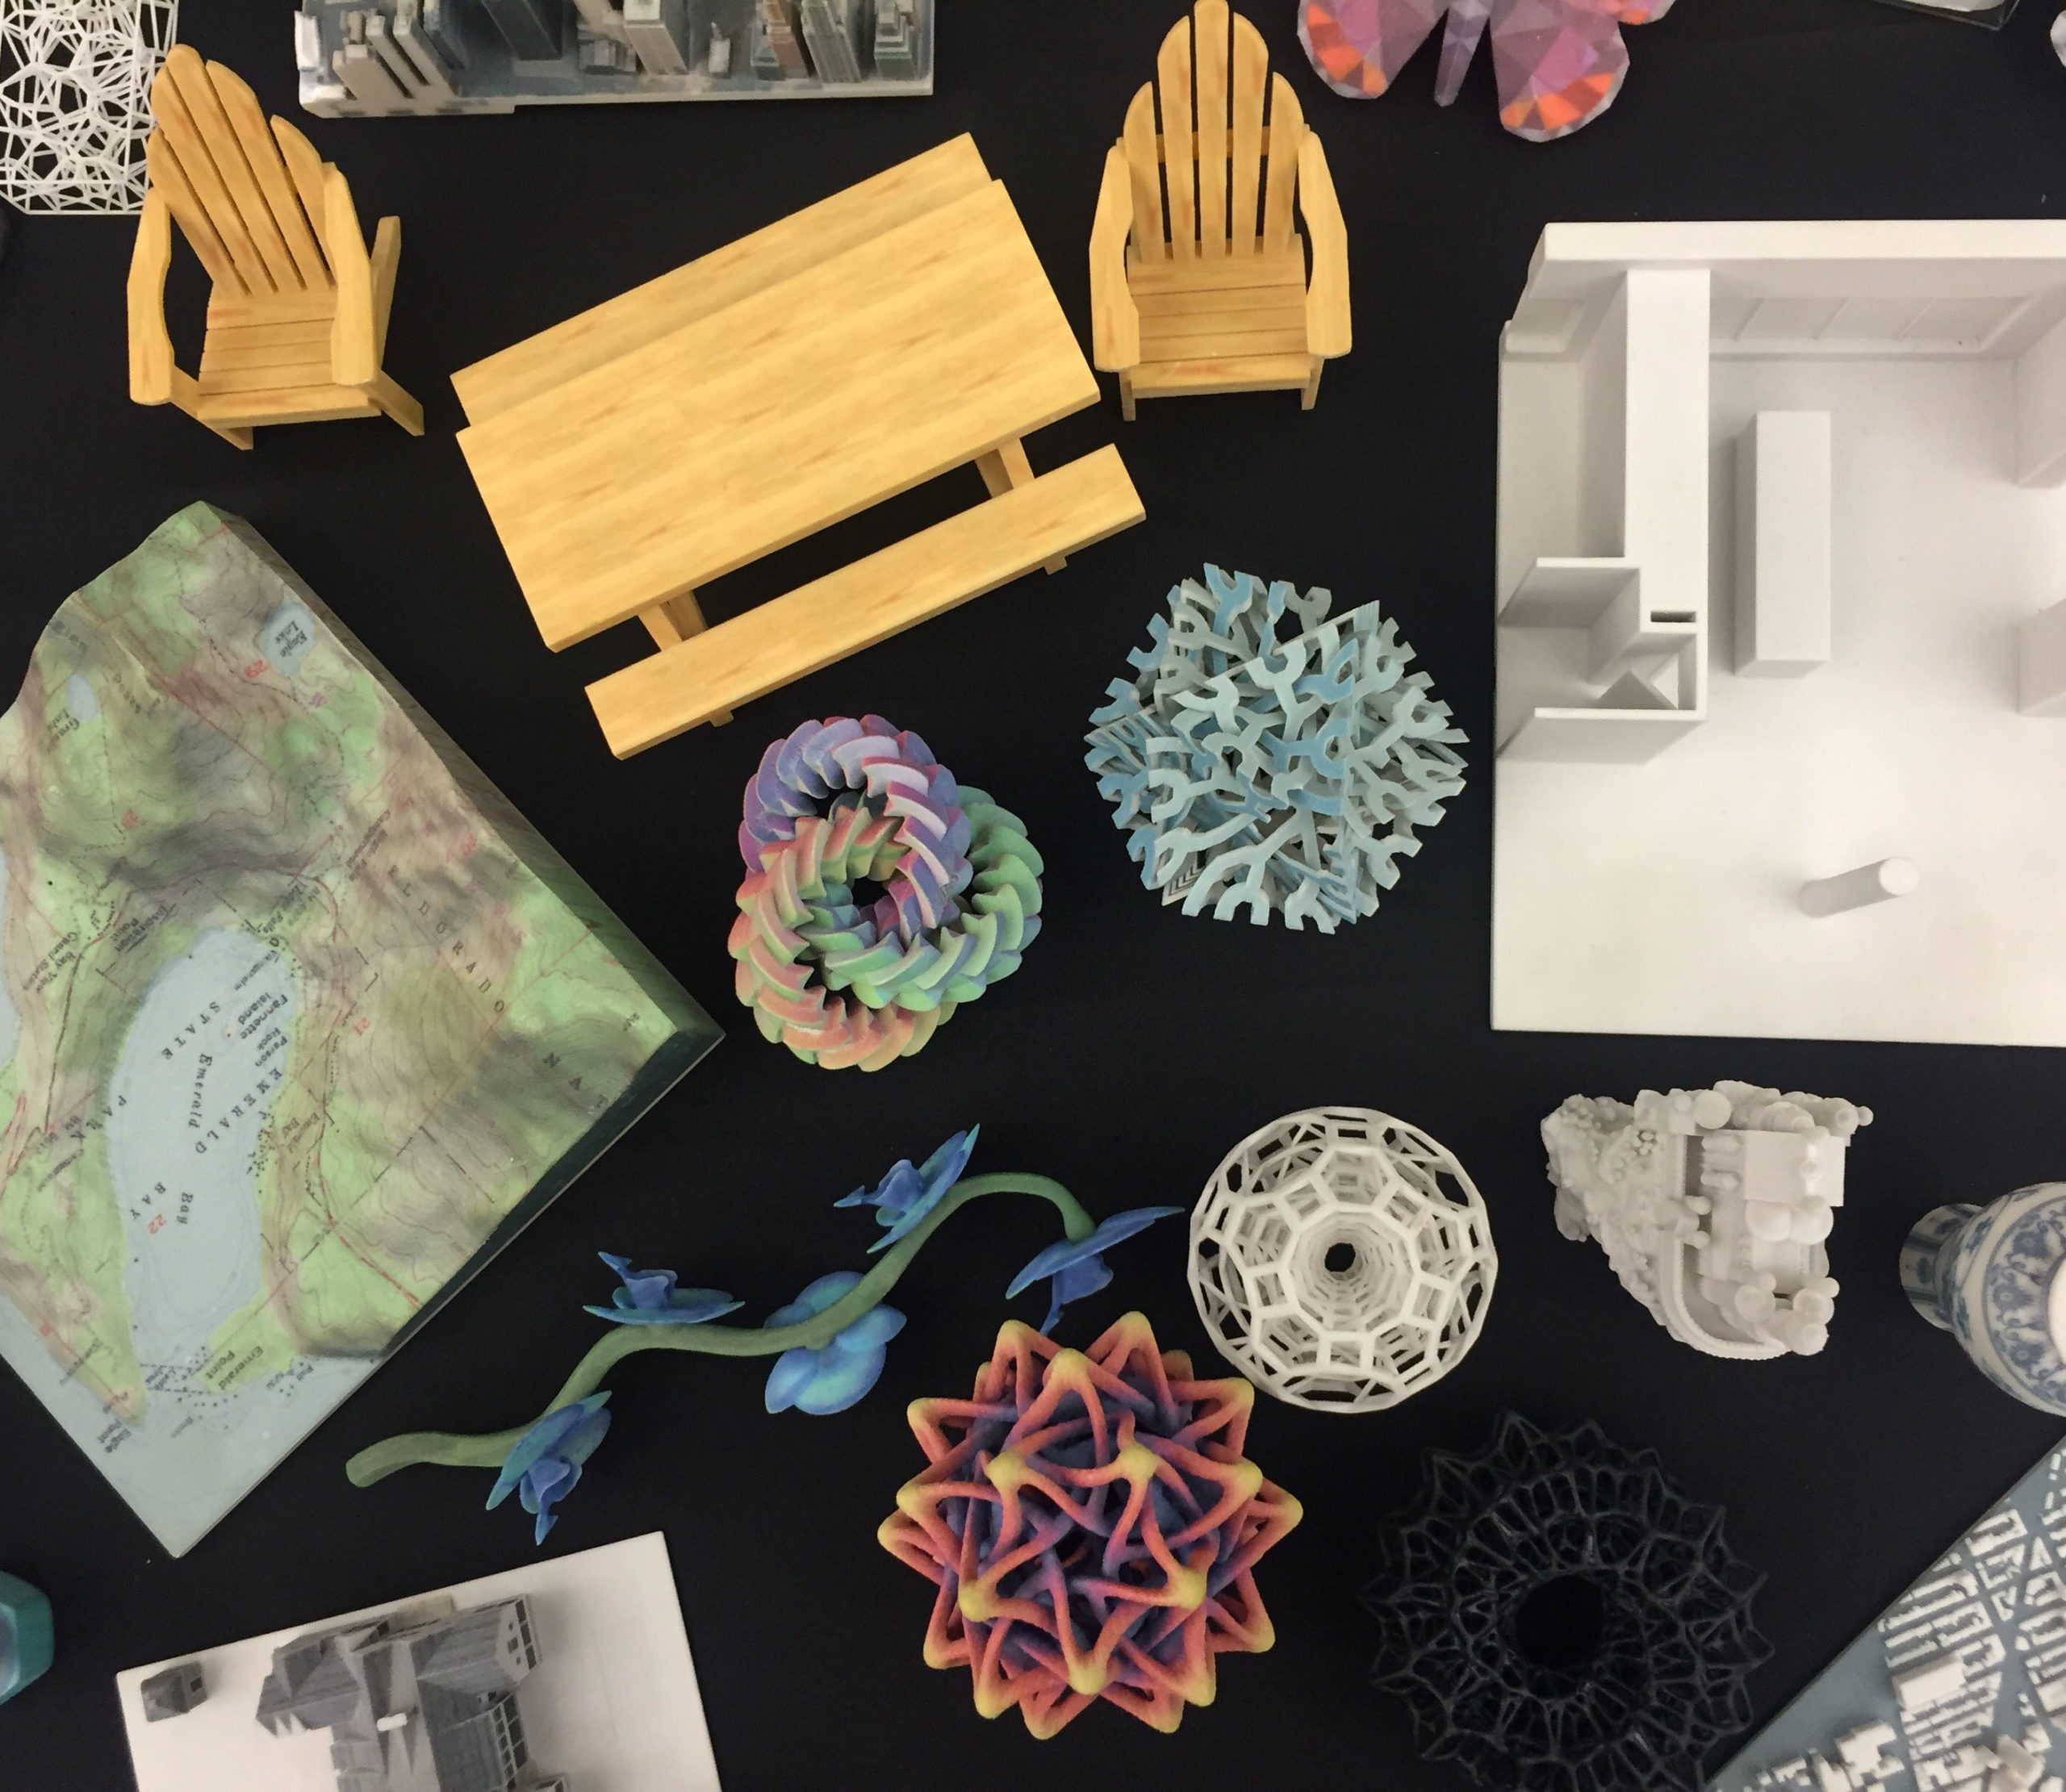
So you’ve just bought a new Projet x60 Series 3D Printer? Now what? Before you start printing models for your projects I would recommend printing a few sample models to get a better idea of the workflow needed to efficiently operate your new 3D printer. You should practice sending print jobs, then extracting, de-powdering and infiltrating the 3D printed models. Going through this 3D print process is a good idea since the Projet x60 series printers uses Visjet PXL Core (powder) as its build material and supports, so when a build is finished you will need to dig out your model using the vacuum and cleaning station, if you are not careful you can easily damage your model while vacuuming and brushing the powder off your model. I would say it is very similar to how an archaeologist would dig up artifacts or fossils, they need to carefully remove the fossil from the earth and clean off any excess material of the fossil .
After you are done removing your model make sure to follow the cleaning and maintenance procedures from the Projet x60 Pro user manual so that it is ready for the next build. All you have to do now is find some sample models to practice with and you should be ready to print 3D models. It is best to make cleaning the printer after every build a standard practice to avoid any future issues with the printer.
There are many sites online that you can download and print 3D models from and since you just bought a Projet x60 series 3D printer, I would recommend going to the 3DS Central website and downloading some samples from their parts library. They have models from all industries and I have chosen a few of the best AEC models that I recommend printing to fine tune and practice your 3D printing workflow.
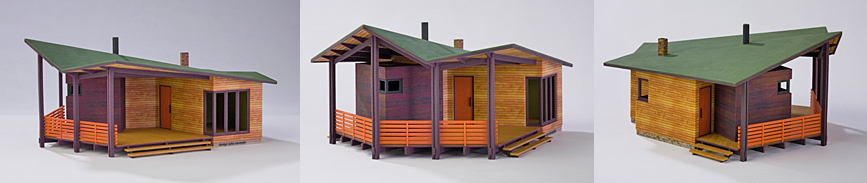
The first is the Sauna House, it is a great looking exterior of a small house and uses color very well to highlight the details of the house’s exterior design.
3D Systems Part Library – Sauna House
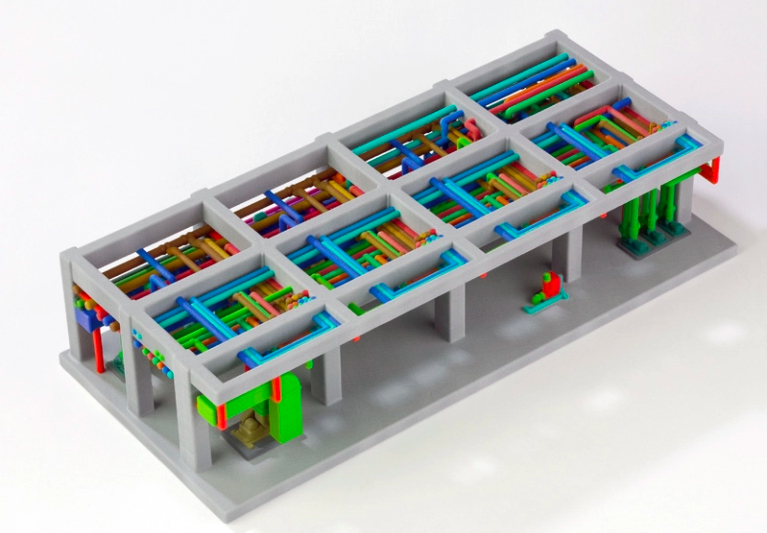
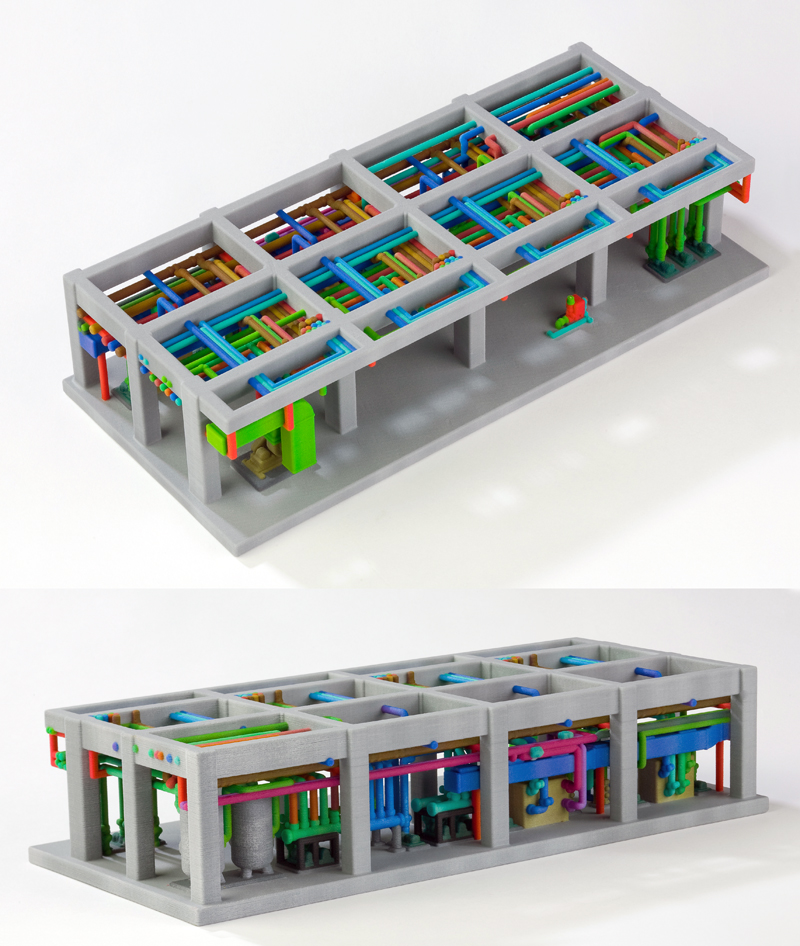
The next model I recommend is a favorite to our MEP clients of the AEC industry, it is the Shinryo Team S Plant model. Each pipe is uniquely colored to help distinguish where it connects to, making it easier to trace the pipes. Models don’t need to be printed in monochrome anymore, with the Projet 660 you can print highly detailed color models that can highlight specific parts or the whole model itself.
3D Systems Part Library – Shinryo Team S Plant
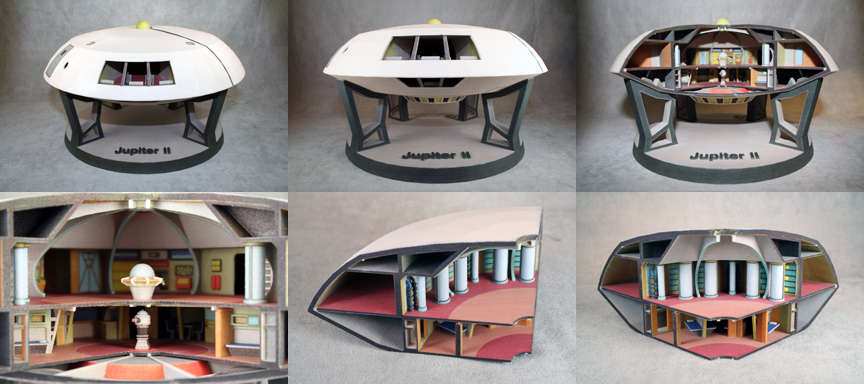
The last model I recommend printing is the Jupiter 2 from the Lost in Space TV series. Other than being a space ship, it is a great challenge model to practice removing larger builds with many small and intricate details as well as good practice for any multi piece interior design models you may need to print.
3D Systems Part Library – Jupiter 2 – Cut Away Interior
Of course you don’t have to print what I recommended here or from the internet, you will probably have your own files where you want to test out the color, tolerances, etc. As long as you have gone through printing a few models before you get into full production you shouldn’t have any issues using the printer and you know what they say practice makes perfect ;). Printing samples will also help burn in your new Projet x60 series printer and help point out if there are any issues that need to be resolved or if any re-calibration needs to be done, of course this is the exception and most new Projet x60 series printers will not have any issues with them. But it is better to have the peace of mind of knowing everything is working properly before you start printing models for your projects. If you do run into issues, don’t hesitate to call or email us.
Stay tuned to our blog for more information on ordering consumables for your Projet x60 series 3D printer and more new user information.
Features the latest informative and technical content provided by our industry experts for designers, engineers, and construction firms and facility owners.