


BIM 360 Design: Basic Configuration
By John Semel | BIM, IT, Subscription
Autodesk has released a major update to the popular Collaboration for Revit and BIM 360 Team services. The new BIM 360 Docs and Design platforms are quite different from these legacy services, so let’s explore how to configure the new services.
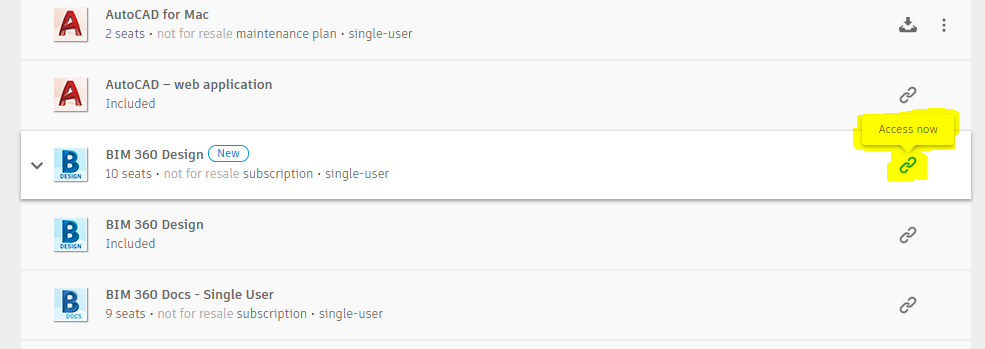
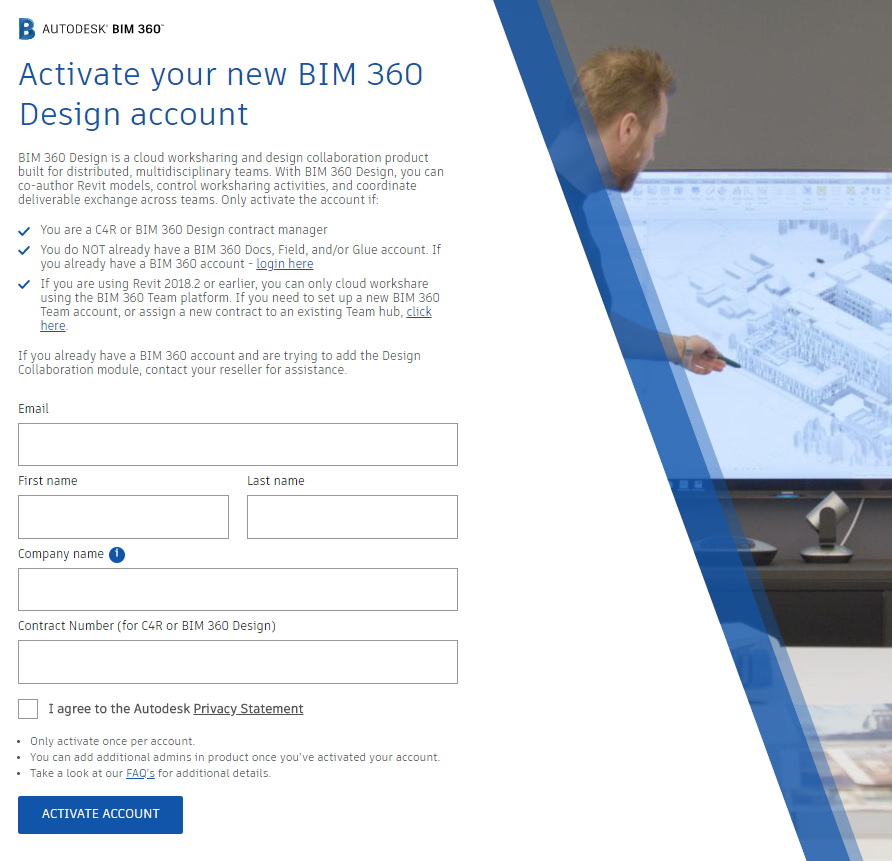
BIM 360 Docs and BIM 360 Design work on completely different storage containers than Team or C4R. The first implication of this is that even if you have a Team Hub, you will need to activate your Docs Hub. You activate it by logging into your Autodesk Account, and clicking the “link” icon next to the product:
If your firm already has a Docs Hub set up, you will still see this page, but it will notify you that the hub is already active.
Next, log into your BIM 360 account, at https://b2.autodesk.com/access
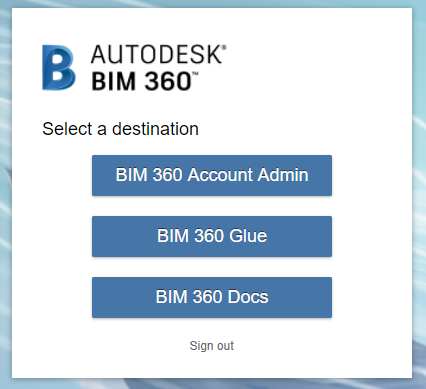
In this case, we’ll sign in using BIM 360 Docs.
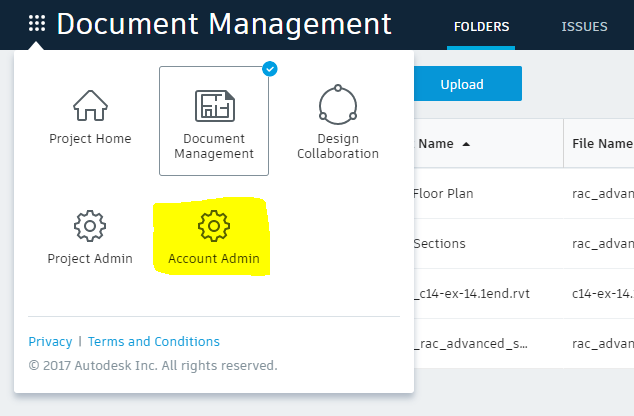
Click on the grid-box on the upper left, and switch to the Administration panel.
From here, you can create your projects. Note that it will ask for a variety of required information when you generate the project.
Next, you can assign members, by clicking on the Members tab. In the screen shot below, we are viewing the Docs component — as there are four Members, and on the lower right we see that “Document Management” has 4 members.
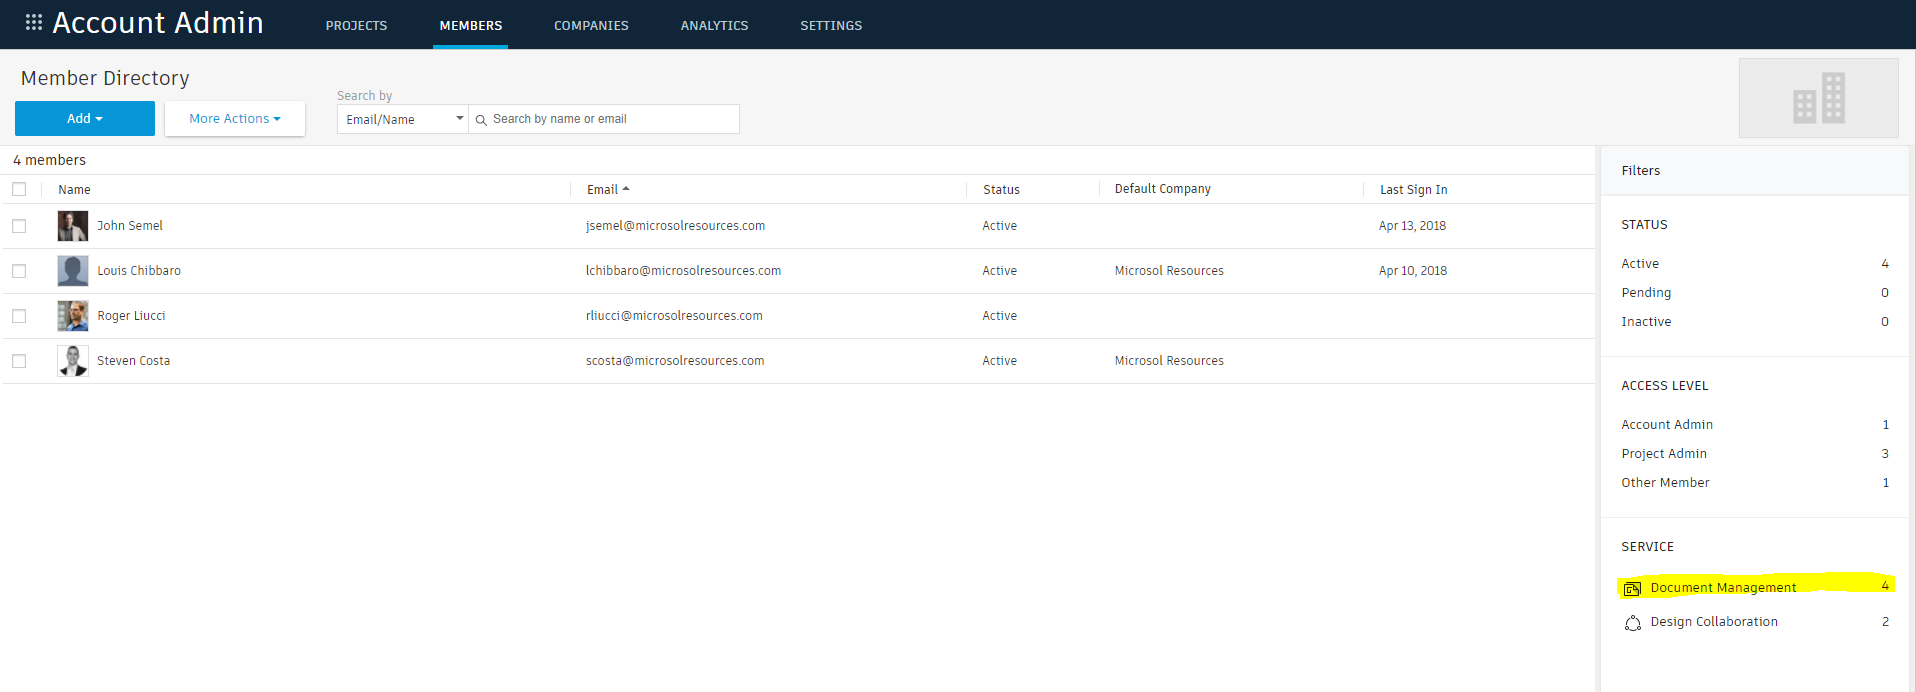
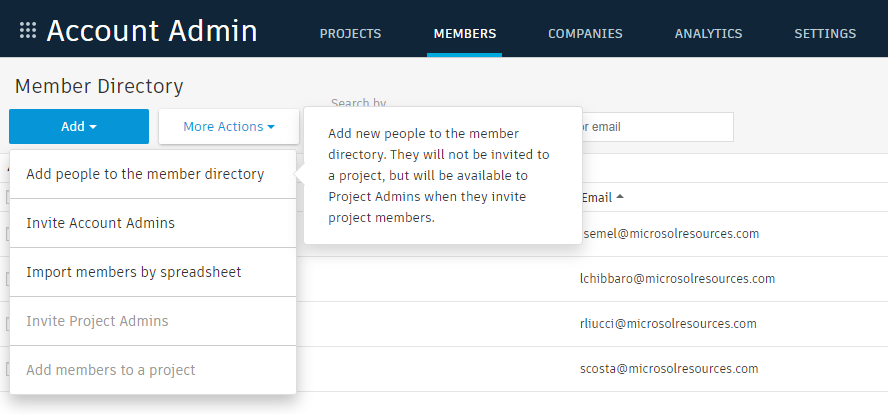
From this panel, you can invite Members or Admins.
The Design Collaboration component is the aspect which allows users to collaborate on Revit projects in real time (i.e. updated version of C4R). You can add the Design function and license to a user in two different ways. First, you can do so from the Account Admin page, by switching to the Design Collaboration section on the right side, and adding a user.
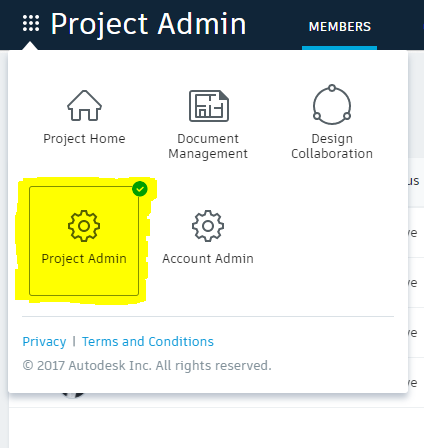
The second option is from the Project Admin panel:
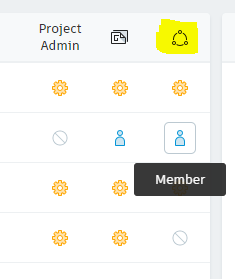
When you are in this view, you configure access to the specific functions of the project — e.g. you can give a user Admin access, or access to Document Management, or access to the Design Collaboration portion. Keep in mind that users must granted access on a project-level basis — e.g. merely inviting a user to your Docs site (via the process above) does not give them access to any projects by default.
It is critical to note that assigning a Member will grant that user one of your firm’s seats of Docs and/or Design. The only way a user can get access to your firm’s Docs Hub is if you use one of your firm’s licenses to grant them access. This operates differently than Team or C4R, in which a user with a license could access any Team Hub to which they are invited, and only use up one of their own firm’s Team/C4R seats.
Speaking of the legacy products: In order to ease the transition, each seat of Design includes a seat of C4R. There is a twist, however. While adding a Member in the BIM 360 Administration page assigns the license to the user, you still have to use your Autodesk Account to assign seats of C4R to the users.
This is done using the usual process. The Contract Manager or Software Coordinator logs into https://manage.autodesk.com and navigates to the User panel. From there, you Edit Access for the user. Make sure that the contract number listed for C4R is the same as the contract with your BIM 360 Design.

At this point, you are ready to go. We will have future blog posts on migrating Team and C4R data, as well as more details on security and roles in Docs and Design.
Last but not least, Autodesk has its own BIM 360 Getting Started guide, which you can use as an additional reference.
For any additional questions, feel free to contact us at support@microsolresources.com or give us a call at (888) 768-7568.
INDUSTRIES: