


How do you manage the Users for your Bluebeam Subscriptions?
By David Spergel | Data Management
With the Bluebeam Revu 21 release, you now have access to the Bluebeam Subscription Management Portal, an online administrative tool available for active subscriptions. From here, Org Admins can allocate Bluebeam subscription seats, add or remove End Users, manage other Org Admins, and more.
Bluebeam Plans allow you to access Revu 21, Studio, and Bluebeam Cloud on up to three devices using a single login.
But first, Org Admins must assign a Bluebeam Subscription Plan to themselves if they want to log into Revu 21 or Bluebeam Cloud.
Here are some tips to manage your Bluebeam Subscription within your organization from adding, deleting, or modifying user subscription access.
- After purchasing a Bluebeam subscription, you’ll receive an email invitation to register your Org Admin account.
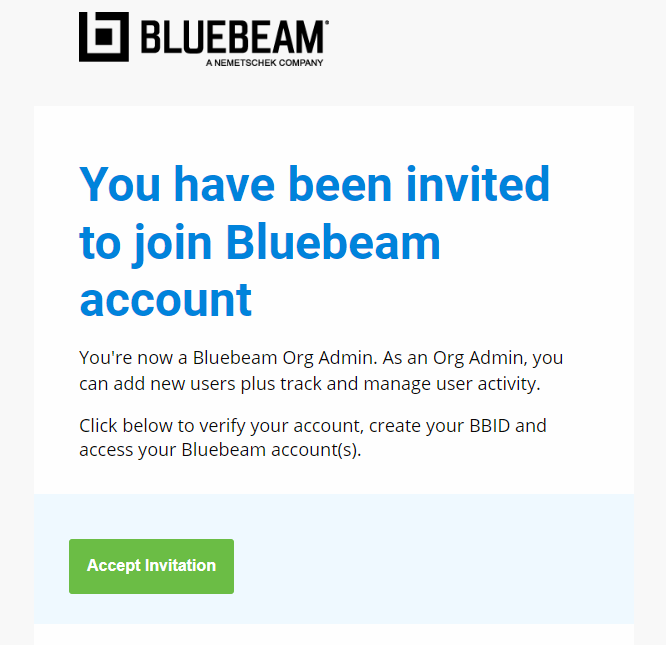
- Click Accept Invitation.
- Fill out the form with your information and set a password for your new account.
- When finished filling out the form, click Finalize at the bottom of the page.
- You’ll receive a second email asking you to confirm the email address used for your Bluebeam ID (BBID).
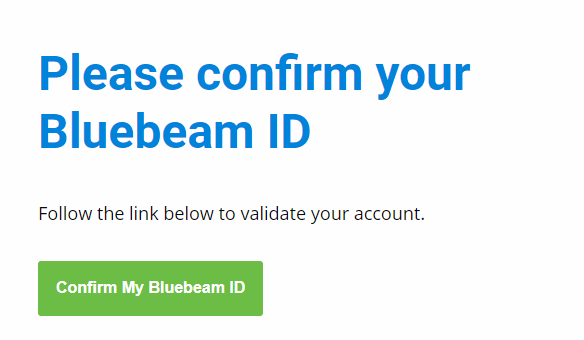
- Click Confirm My Bluebeam ID.
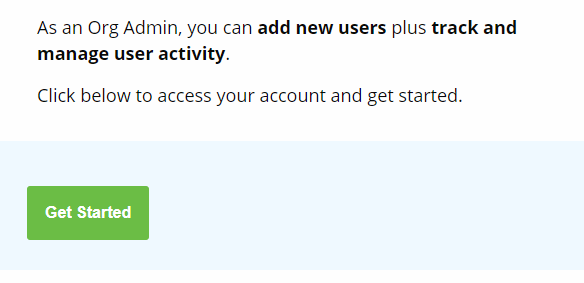
- After completing an account registration, you’ll receive a third email to access the Bluebeam account login page.
 To access the subscription management portal in the future, be sure to bookmark https://org-admin.bluebeam.com.
 - Click Get Started.
- Enter your BBID credentials.
Users + Product Tier Management

With the Bluebeam Subscription Management Portal, you can manage users and their subscription access (i.e., product tier). To get started:
- After signing in, select the account you’d like to view and manage under Accounts.
- From the Dashboard, go to Account Administration in the left sidebar menu.
- Select Users & Product Tier Management.
- Select User Overview to see all account users and their information, including User Type, Product Tier, and Status.
- Select Product Tier Overview to see all the available seats on your account for each subscription tier.
Add a New Subscription User
Within Users & Product Tier Management, you can add new users to your account individually. To do this:
- Click the Create New Subscription User button to the right of the User Overview.
- The Add New Subscription User window will appear.
- Under the Add new user tab, fill out the required fields and any other important contact information.
In addition to setting Permissions, you’ll need to select the appropriate Server Region.
- When finished entering the new user’s information, press Save.
- From the next window that appears, select the product tier the new user will have access.
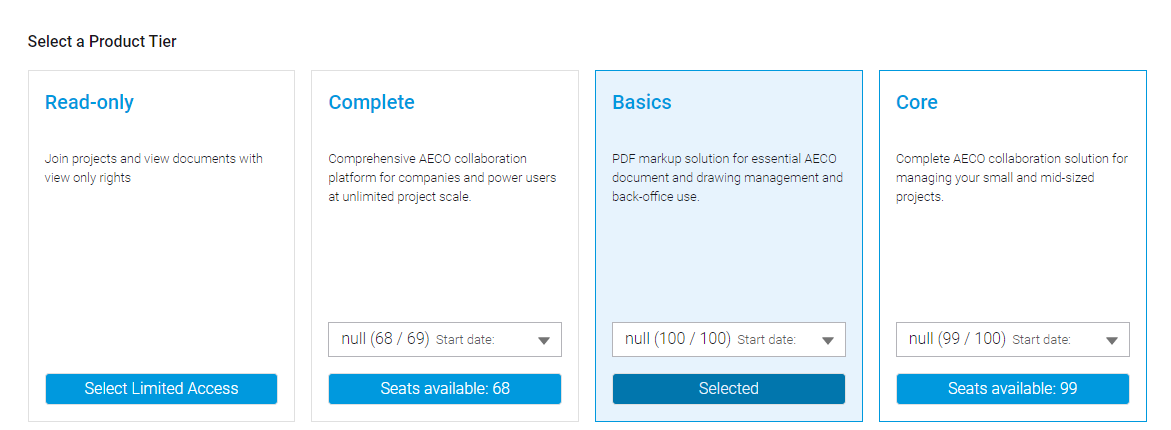
- Press Save Changes.

The new user will appear under User Overview with a Pending status until their account has been activated.
Bulk Add Users
Org Admins can also add a batch of users to their accounts. To do this:
- From the Dashboard, go to Account Administration > Users & Product Tier Management.
- Click the Create New Subscription User button.
- At the top of the Add New Subscription Users window, switch to the Bulk add users tab.
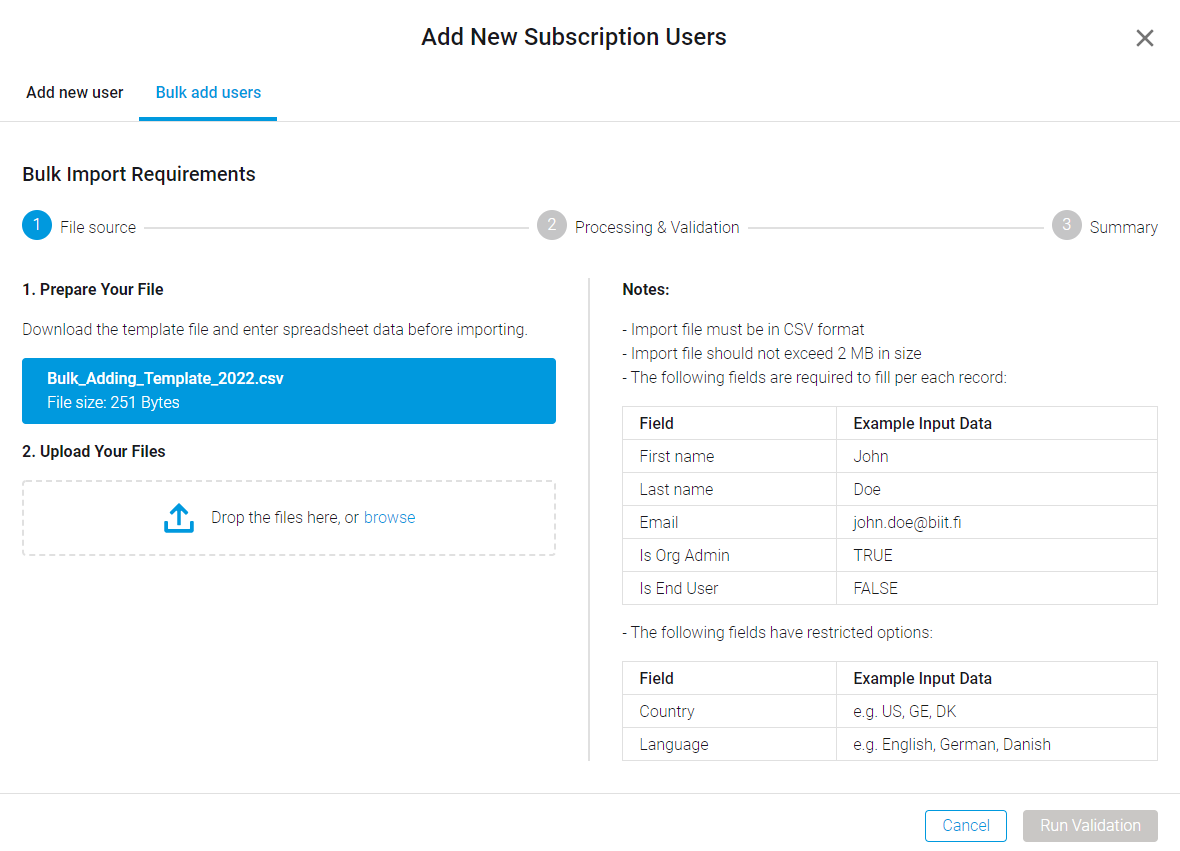
- To add multiple users, you’ll need to import a .csv file. Download the template provided and input all mandatory information in Excel.
- After saving your version of the .csv, upload it in the Add New Subscription Users window.
Drag and drop the file or Browse for it in File Explorer.
- Click Run Validation.
- The .csv is then processed and will appear at the bottom of the window if valid.
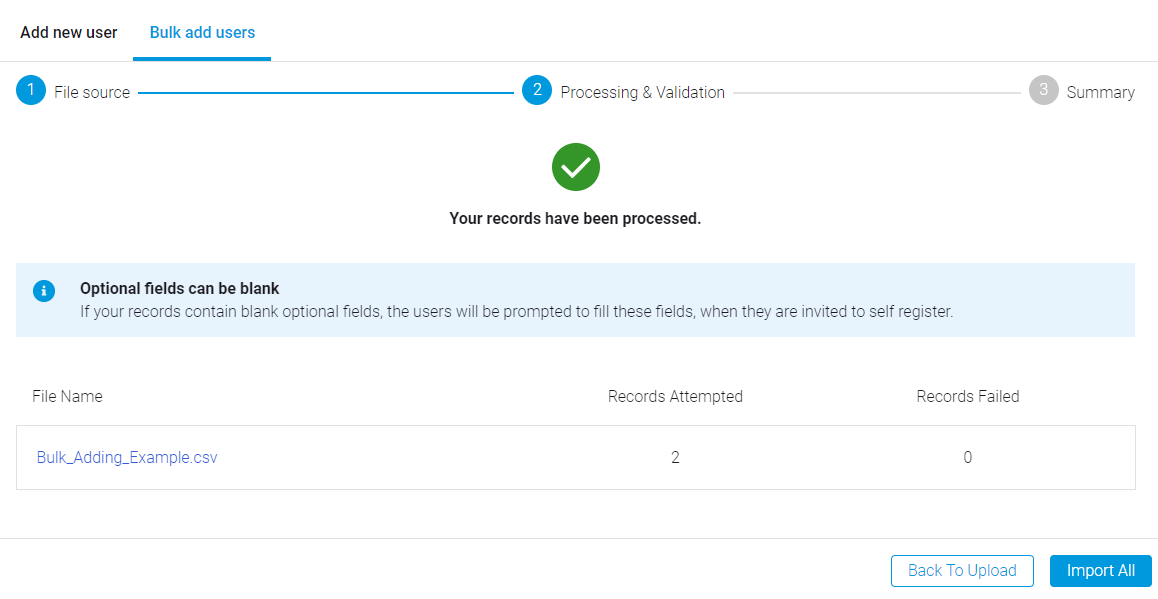
- Press the Import All button.
- After reviewing the Summary, click Close.


The new users will appear under User Overview with a Pending status until their accounts have been activated.
Edit Subscription Access for Multiple Users
After bulk-adding users, you’ll need to assign them subscription access. To do this for multiple users at a time:
-
- Within Users & Product Tier Management, scroll down to Product Tier Overview.
- For a subscription tier with available seats, select the menu icon next to Total Subs.
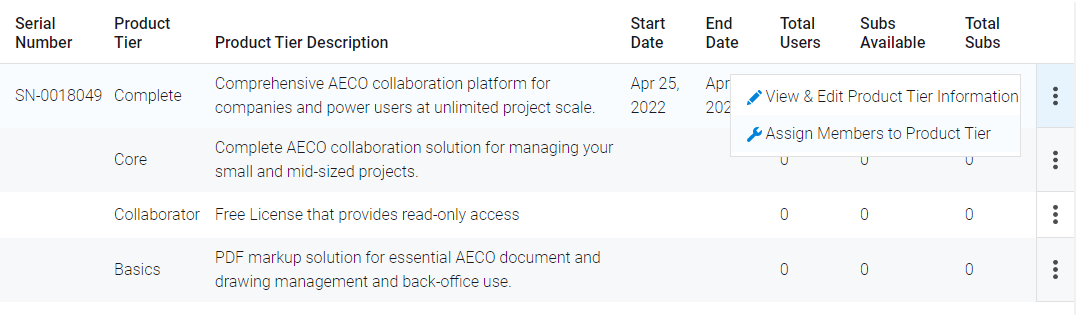
- Select Assign Members to Product Tier.
- In the Edit Product Tier dialog box, unassigned users will appear on the left. Select the check box next to the users you’d like to add to the subscription tier.
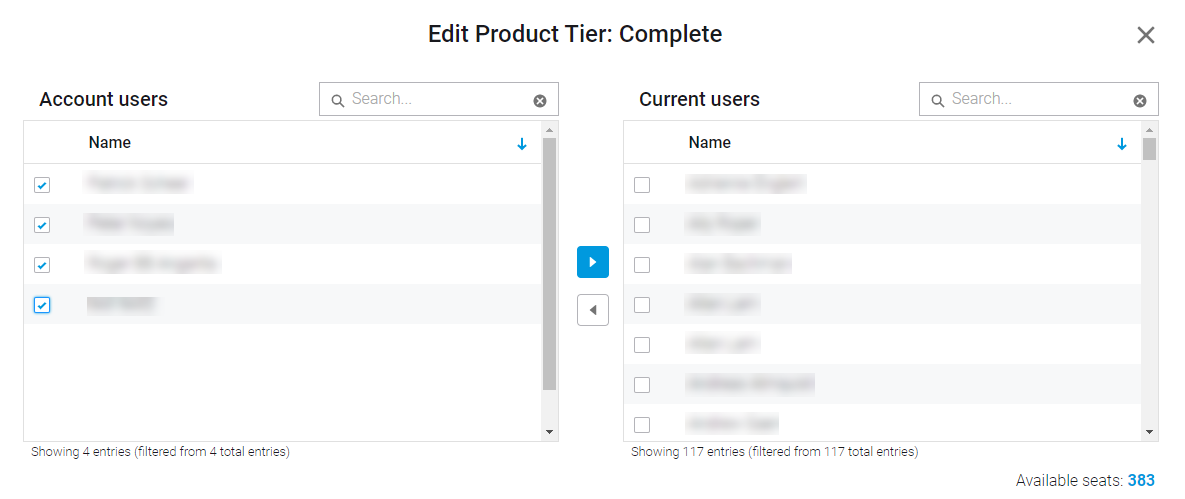
- Once you’ve selected all applicable users, click the right arrow, and they’ll be moved to Current users.
- Click Save.
Search + Filter Subscription Users
Within Users & Product Tier Management, you can also find particular account users and/or filter them by categories. To do this:
- Under User Overview, click the dropdown menu next to the funnel. ‘Search all’ is the default selection.

- Select the category in which you’d like to filter subscription users:
- First Name
- Last Name
- Email Address
- User Type
- Product Tier
- Invitation Expiry Date
- Status

You can also search by keyword if looking for a particular account user and/or email:
- Type your search term in the field next to the filter dropdown list.
- Click the magnifying glass or press Enter.
Your search results will display under User Overview.

You can also sort columns by values by selecting the arrow that appears when you hover your cursor over a column heading:

Edit User Information
From the Users & Product Tier Management page, you can also edit information for existing account users. To do this, follow these steps:
- Under User Overview, select the menu icon next to a user’s Status for additional options.
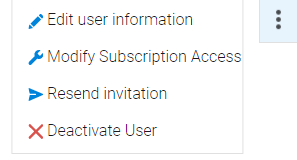
- Select Edit user information.
- The Modify Subscription End User window will appear. From here, you can navigate to Modify Product Tiers, change Permissions, and/or update Contact Details/Information.
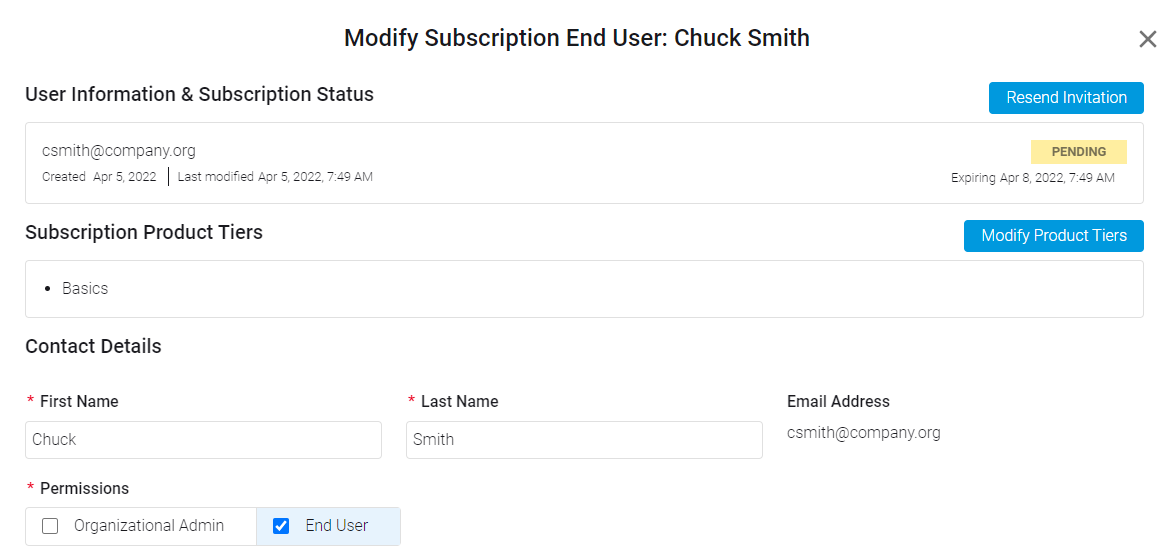
- When finished editing user information, press Save.


The updated information will appear under the User Overview list.
Modify Subscription Access for a Single User
When you need to change subscription access for a specific account user, select the menu icon next to their Status and:
- Go to Edit user information > Modify Product Tiers
- Or choose Modify Subscription Access
Select a new product tier with available seats and click Save Changes.
Resend Invitation
When adding new subscription users, invitations are sent out via email for accounts to be created and activated. However, email invitations will expire after the date listed in the Invitation Expiry Date column under User Overview. To resend an invitation, click the menu icon next to Status and select:
- Edit user information > Resend Invitation
- Or Resend invitation

Select the checkbox next to Welcome Email and click Resend. A new invitation will be sent to the user’s email, and the expiration date will automatically update.
Deactivate User
When you need to deactivate a user, do the following:
- Under User Overview, click the menu icon next to a user’s Status.
- Select Deactivate User.
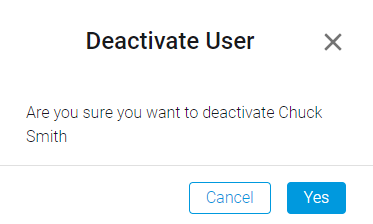
- To confirm, click Yes.

Deactivated users will still be listed under User Overview. However, their Status will change to Inactive.
Reactivate User
If you need to reactivate an inactive user:
- Select the menu icon next to a deactivated user’s status.
- Click Reactivate User.

If you have additional questions, please reach out to our Bluebeam Team at bluebeam@microsolresources.com.
INDUSTRIES: Architecture, Buildings, Civil Engineering, Civil Infrastructure, Construction, Infrastructure, Manufacturing, Media & Entertainment, MEP Engineering, Structural Engineering