V-Ray 7 for Revit is here, completing the highly anticipated V-Ray 7 lineup! Following its releases for 3ds Max, SketchUp, and Rhino, Chaos has now brought its latest innovations to Revit, delivering a game-changing upgrade for architectural visualization. This release is packed with powerful enhancements designed to accelerate 3D environment creation, optimize BIM workflows, and elevate the quality of design presentations. Whether you’re an architect, designer, or visualization specialist, V-Ray 7 for Revit provides the speed, realism, and creative control needed to bring your projects to life like never before.
Here’s a video that showcases the latest features and an article that explains why you should consider using this new V-Ray for Revit!
Key New Features in V-Ray 7 for Revit
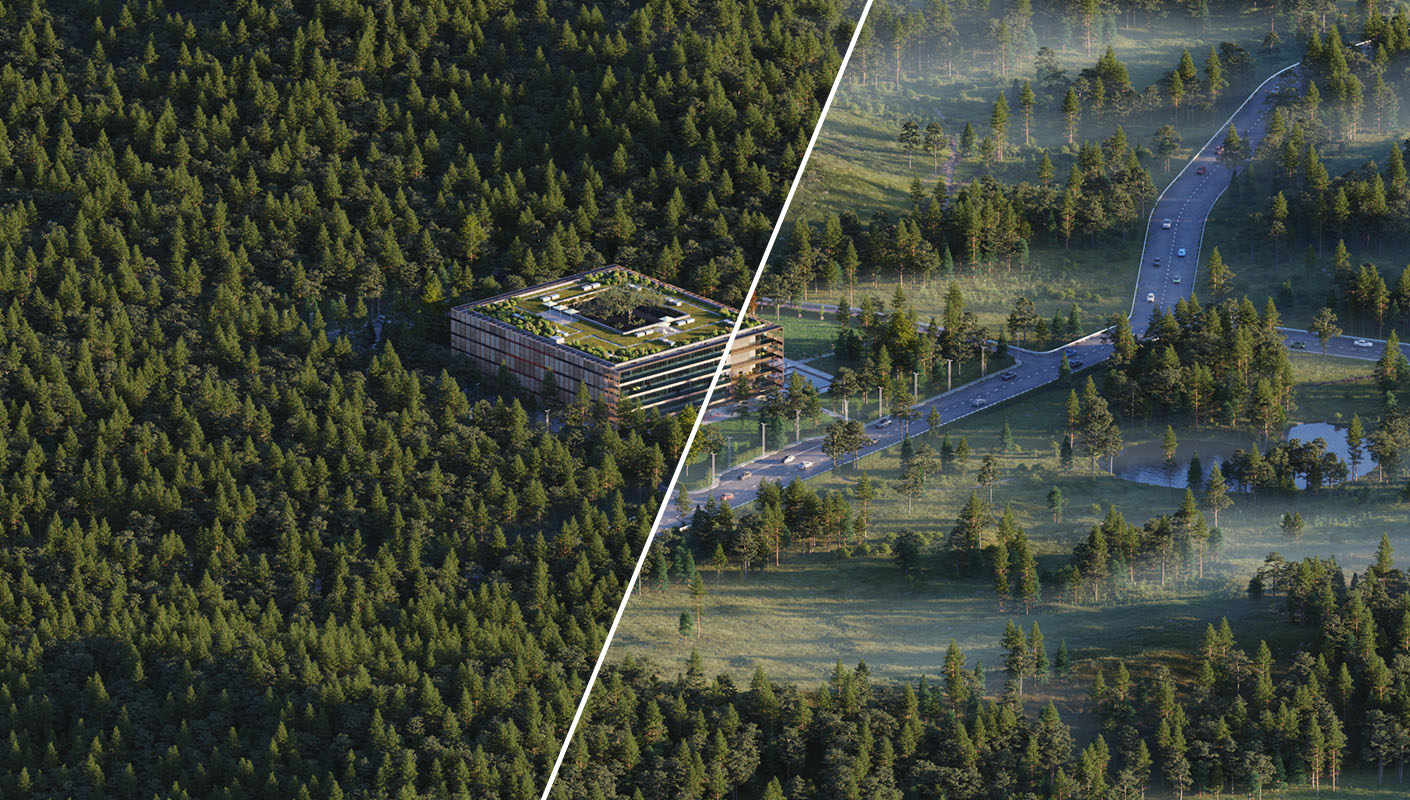
3D Gaussian Splatting
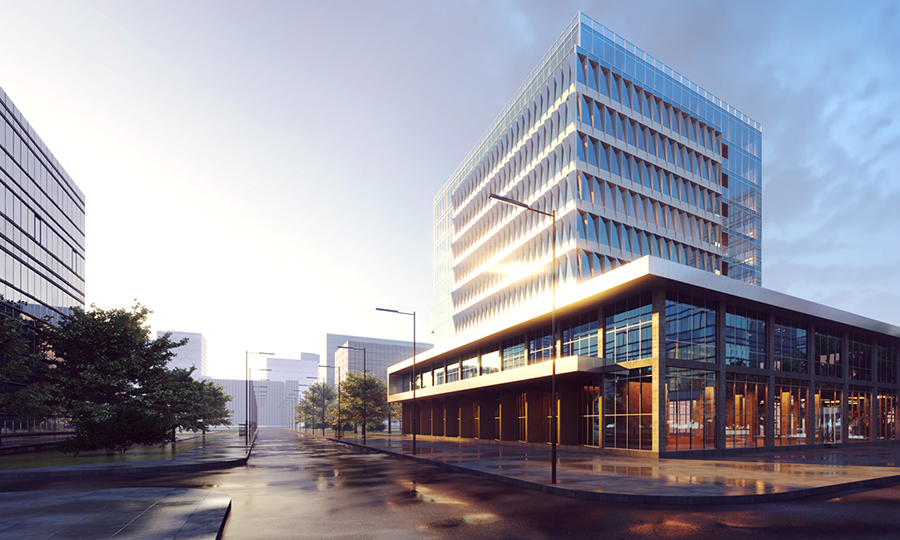
V-Ray 7 introduces 3D Gaussian splatting, an innovative technique that improves the blending of buildings into natural landscapes or complex 3D environments. This method enhances reflections, refractions, and lighting precision. By integrating Gaussian splats within Revit’s BIM environment, architects can now visualize intricate designs with greater ease and accuracy.
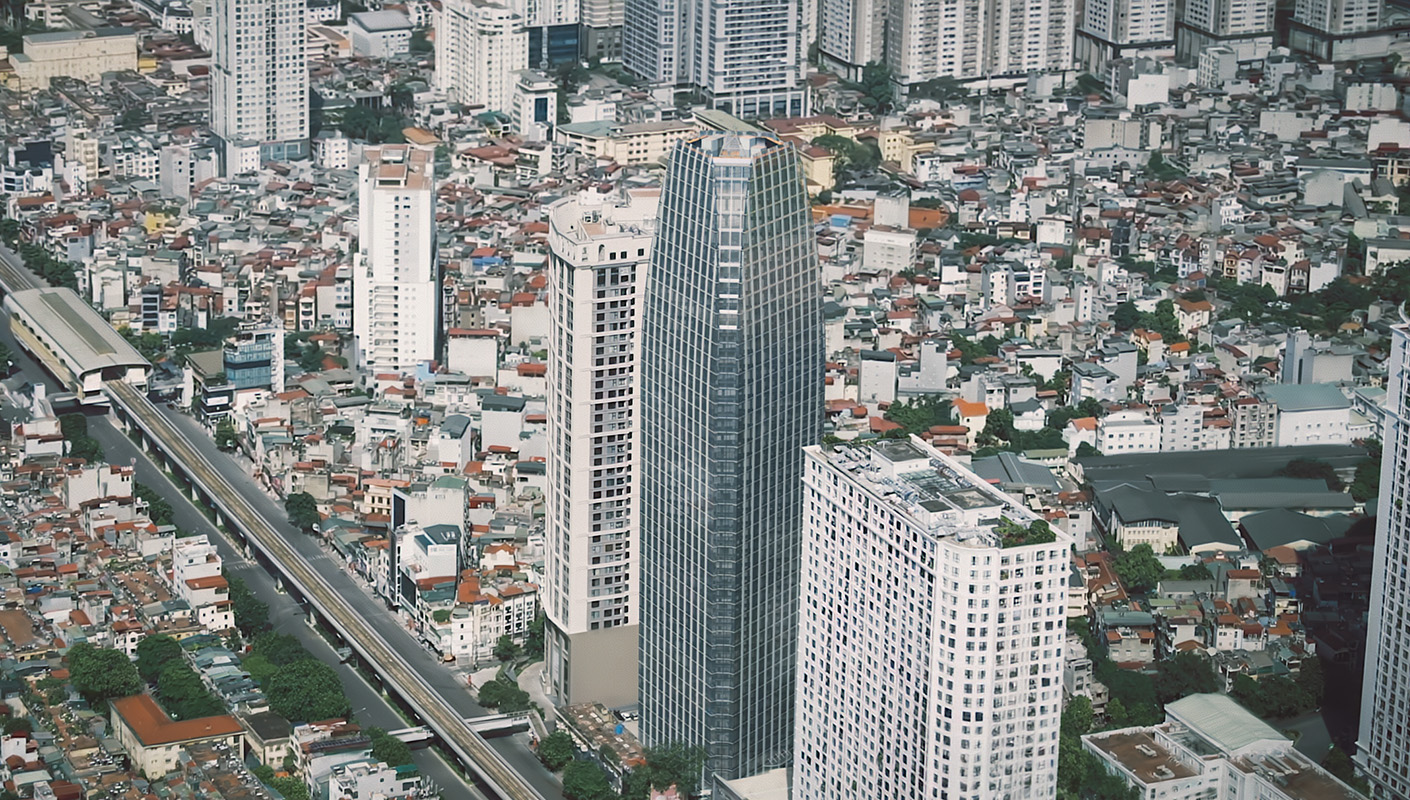
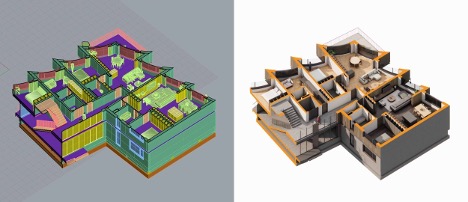
Point Cloud Rendering
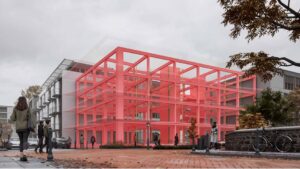
One of the most impactful additions is point cloud rendering, allowing architects to integrate scan data and survey models directly into Revit. This new feature brings unmatched precision and clarity, ensuring realistic visualizations with minimal effort.
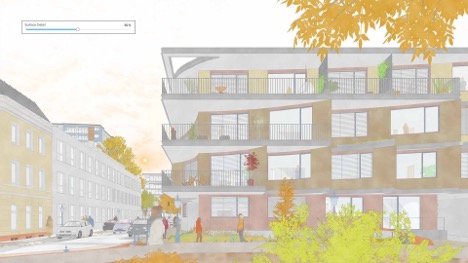
Virtual Tours with Chaos Cloud
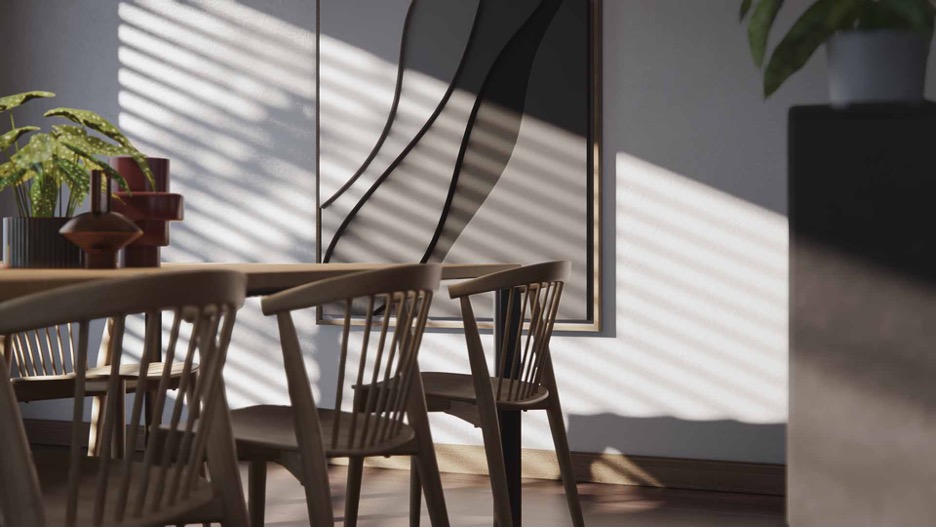
Enhance client presentations with immersive virtual tours. V-Ray 7 allows designers to create panoramic tours complete with floor plans, interactive hotspots, and detailed design annotations. These presentations can be embedded on websites or shared with clients for a richer, more engaging experience.
Line and Selective Scattering
For faster object population in Revit designs, V-Ray 7 introduces line scattering and selective scattering. The former efficiently places objects like trees or lamps along designated lines, while the latter allows users to exclude specific areas or create smooth object fades for precise control.
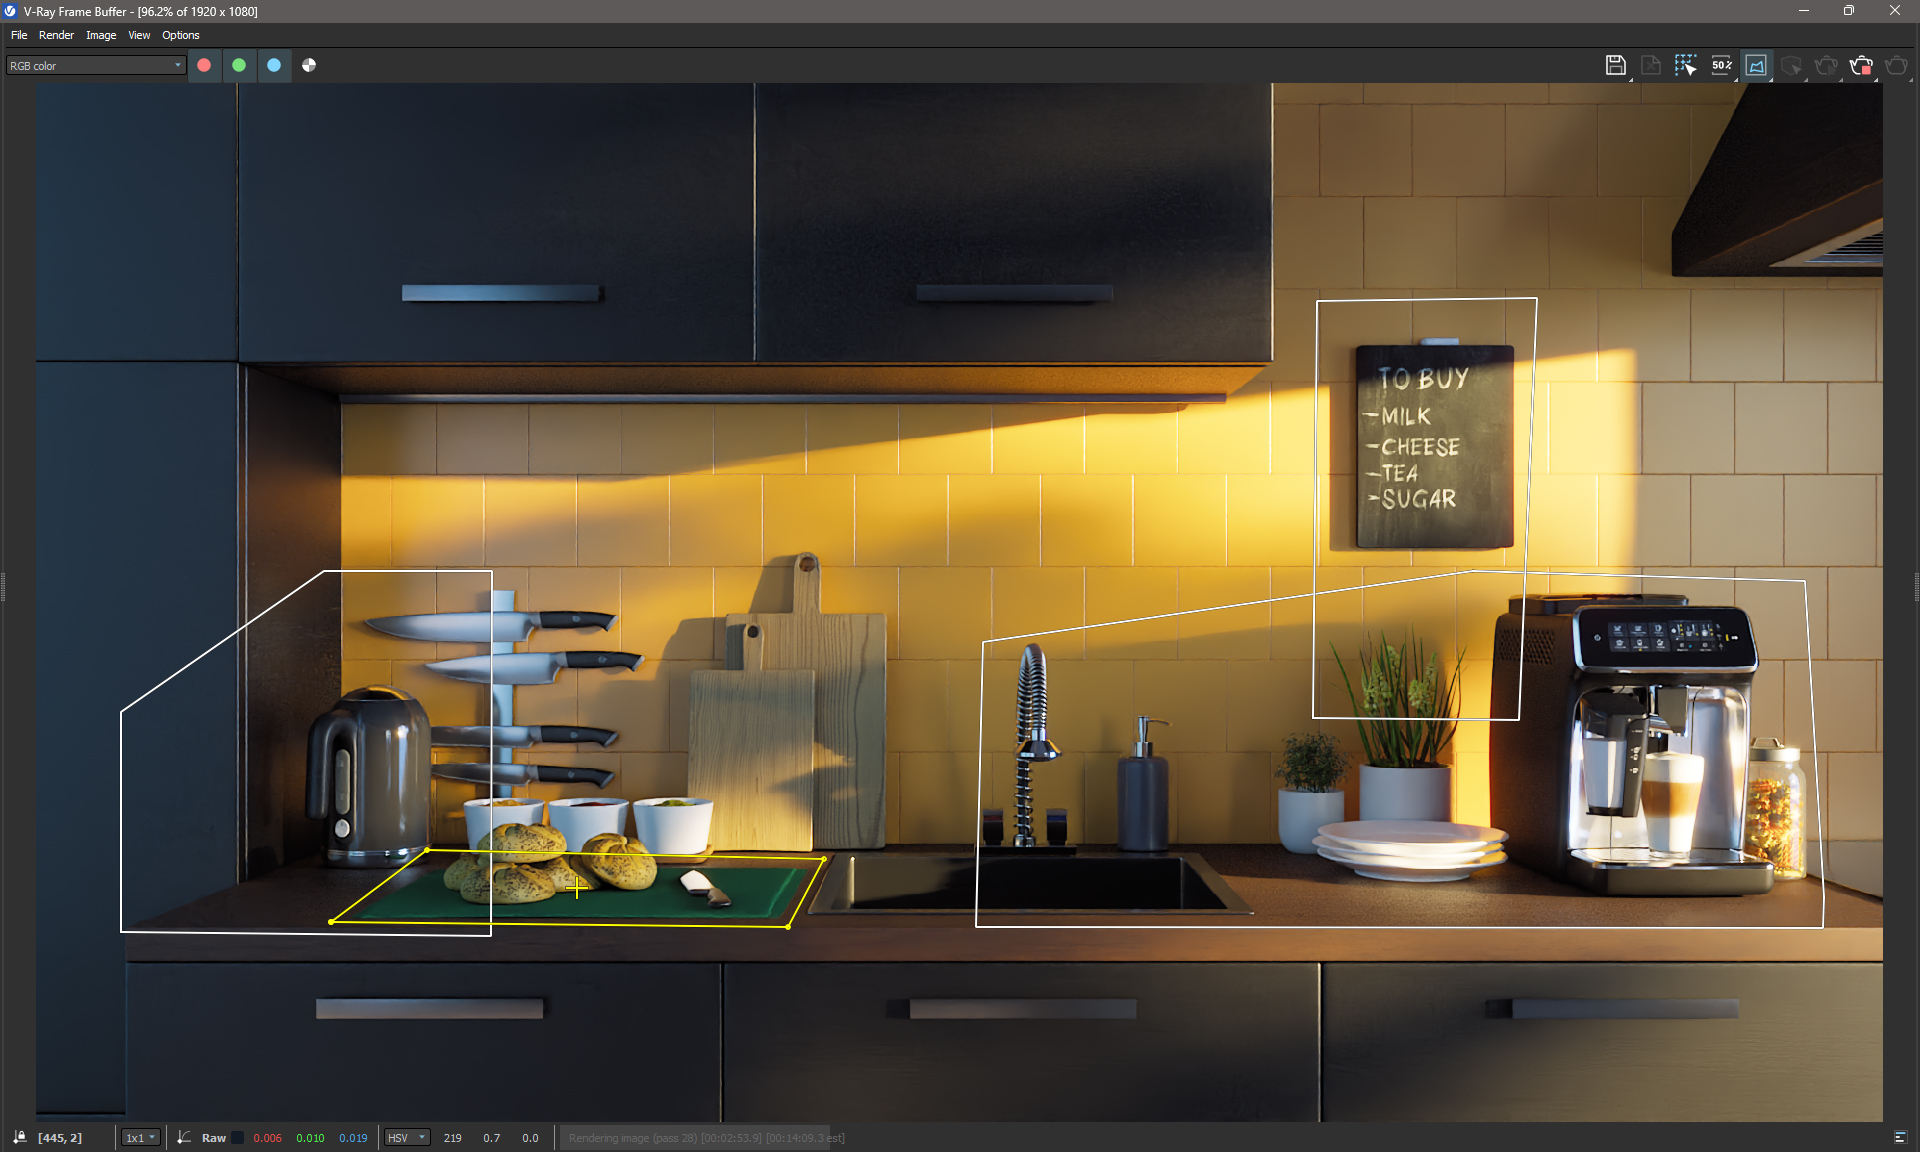
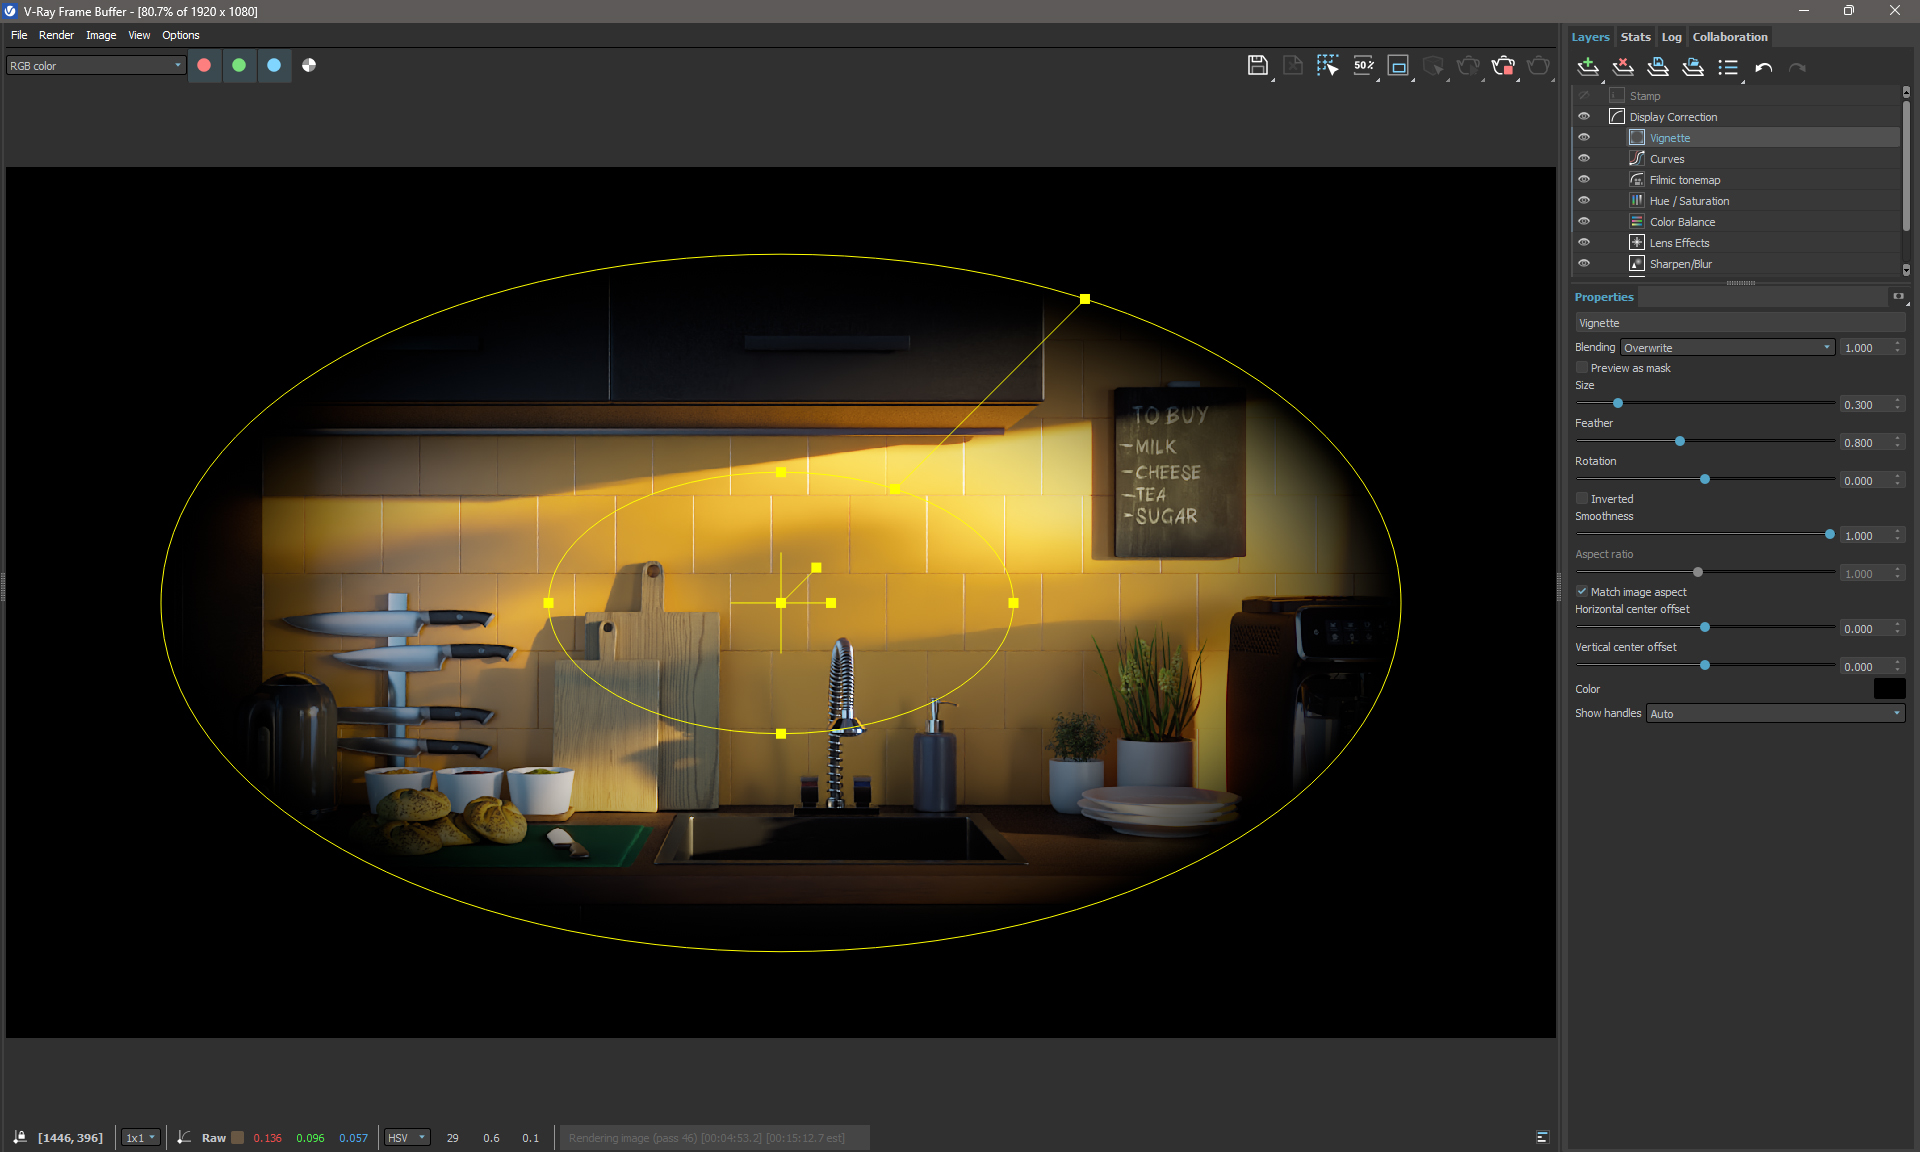
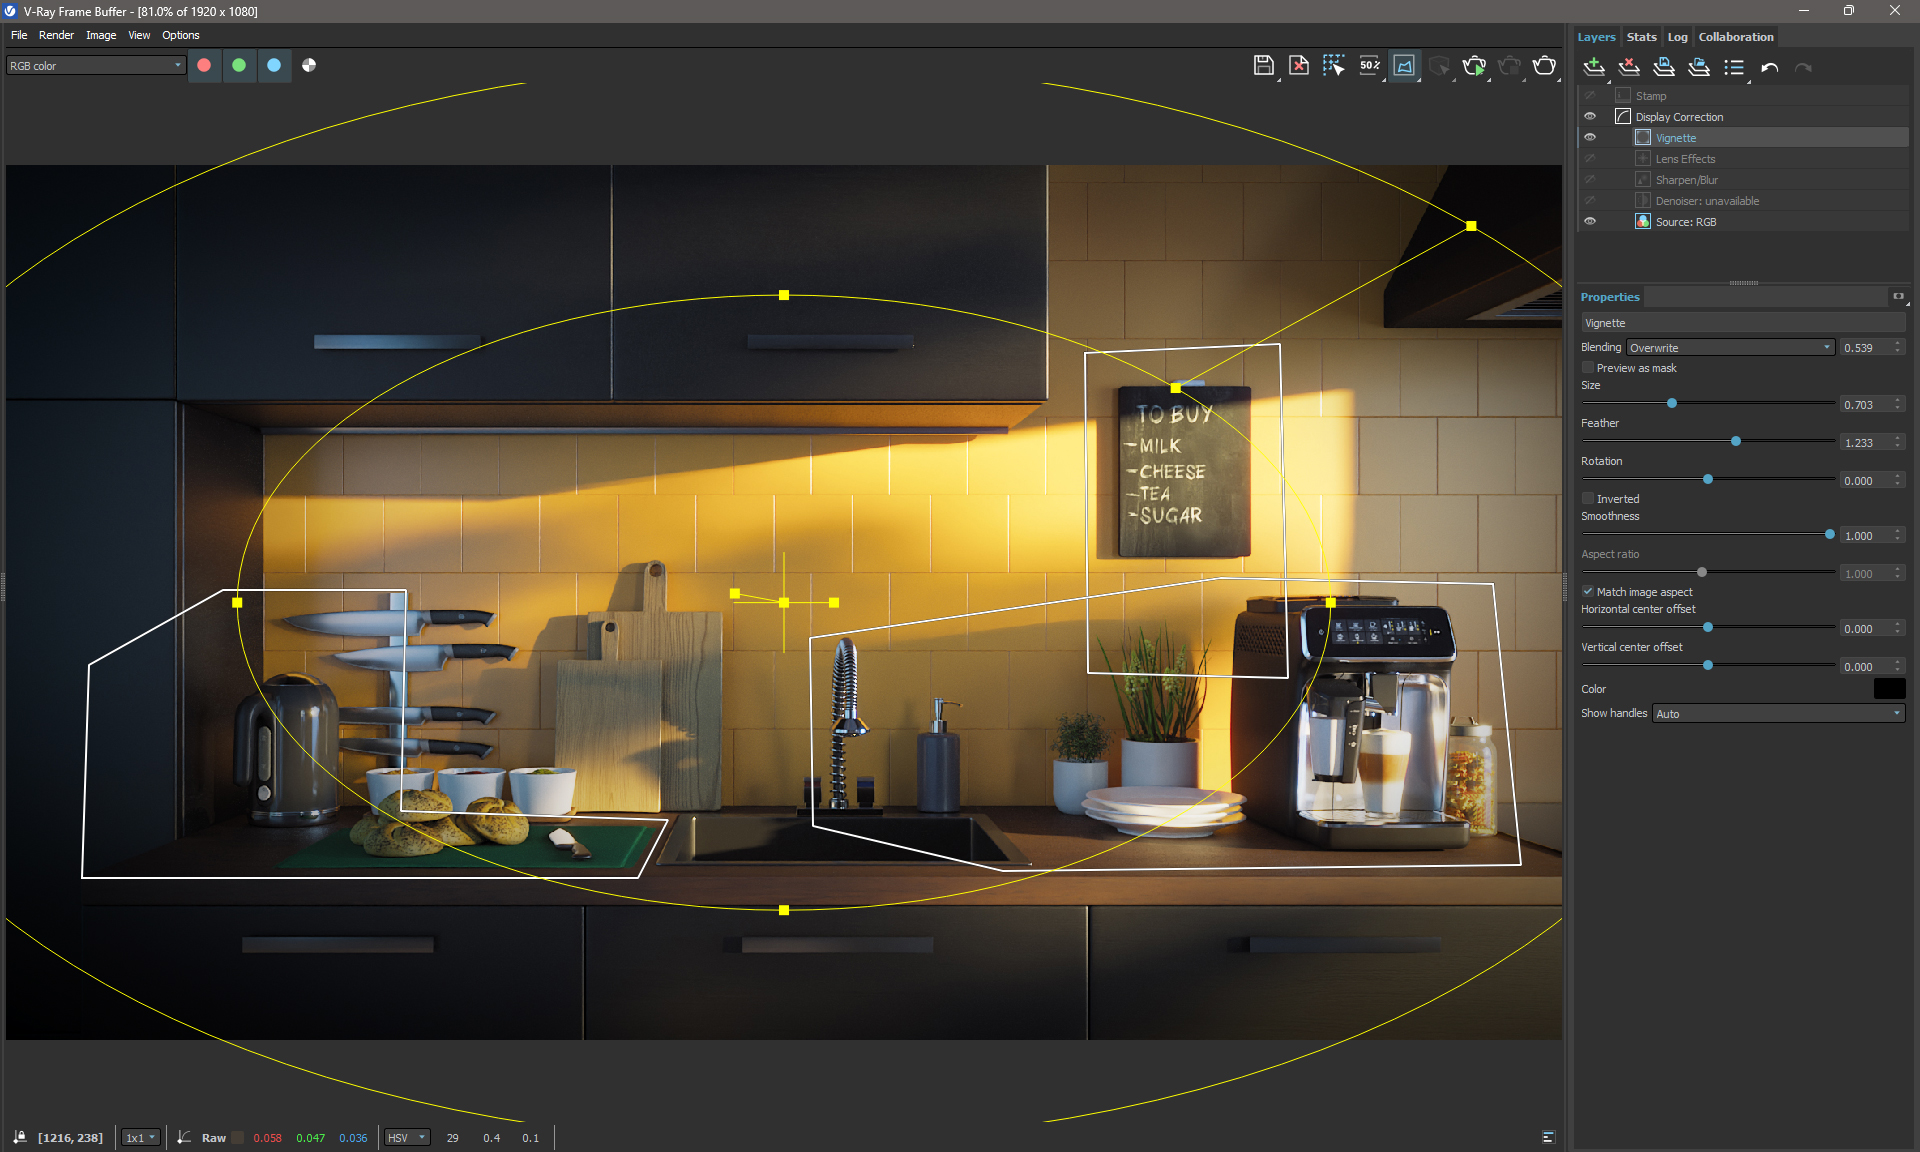
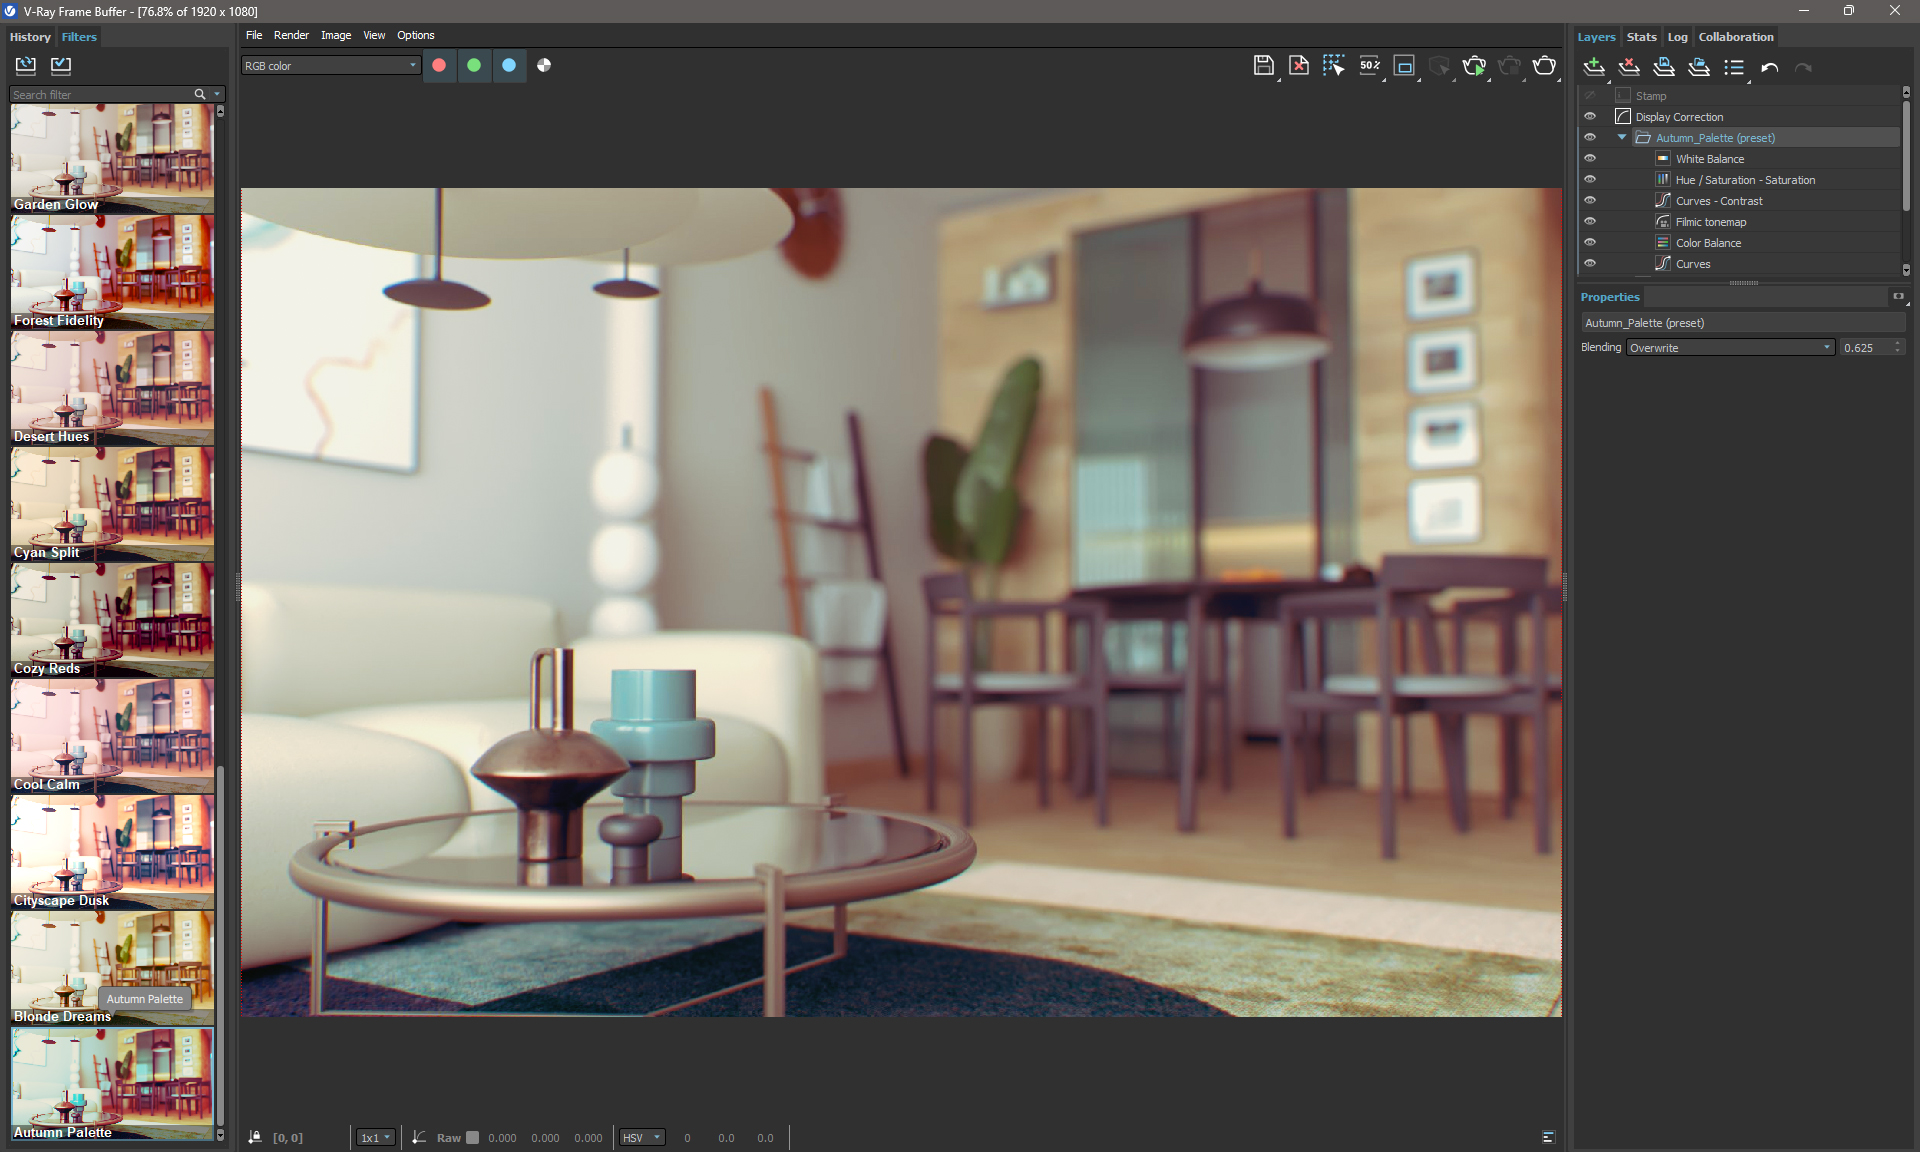
Enhanced Creative Control in the VFB
The V-Ray Frame Buffer (VFB) now offers:
Polygon render region for refining specific scene details.
Vignetting layer to create professional depth and focus in renders.
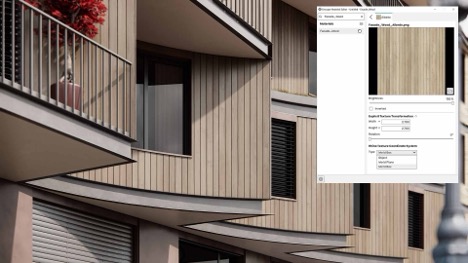
Layered Texture System for blending textures like in Photoshop, providing unmatched flexibility.
Color-correction presets to enhance visuals with one-click adjustments.
Textured Gradient Mapping for creating dynamic and realistic shading effects.
Faster V-Ray GPU and V-Ray Swarm Integration
V-Ray 7 enhances GPU rendering performance, achieving faster “time to first pixel” speeds with improved scene preparation. The updated V-Ray Swarm system is now integrated directly into the Asset Editor for seamless distributed rendering, ensuring faster and more efficient performance.
Enhanced Features for Optimized Workflow
In addition to these new capabilities, V-Ray 7 offers key improvements to existing features:
Improved Asset Editor for streamlined material and texture management.
Expanded Chaos Cosmos integration for easier access to high-quality entourage assets.
Enhanced light mixing and adaptive lighting controls for faster, more accurate illumination adjustments.
Refined cloud rendering workflows via Chaos Cloud for improved project collaboration and presentation.
Why Upgrade to V-Ray 7 for Revit?
Faster 3D Environment Creation: The combination of Gaussian splats, optimized GPU performance, and new scattering tools accelerates project development.
Precision and Realism: Point cloud rendering ensures superior visual accuracy for design models.
Enhanced Presentations: Virtual tours and enhanced VFB tools empower designers to deliver compelling visuals to clients.
Seamless Integration: V-Ray 7 maintains its robust compatibility with BIM data and Chaos ecosystem tools, ensuring smooth workflows for design professionals.
For architects, designers, and visualization experts, V-Ray 7 for Revit sets a new standard for speed, flexibility, and visual fidelity. Embrace the latest in rendering innovation and take your Revit projects to the next level.
If you would like more information about any of our offering, please contact us at vray@microsolresources.com
There is an important Chaos Licensing server application update scheduled for January 28, 2025, because the server certificate will expire on that date.
We are committed to making this transition as smooth as possible and are here to assist you every step of the way. If you have any further questions or need assistance, please do not hesitate to contact our Customer Support team.
What Should I Do?
You must update your Chaos License Server application by January 28, 2025, to ensure uninterrupted access to your licenses. Failure to update the Chaos License Server application will result in losing access to your licenses.
The easiest way to proceed is to update the Chaos products you are using to their latest versions. Download the latest version of your product from our download section here
If this solution works for you, there is no need to go through the steps below.
What If I Don’t Want to Update My Products Now?
If you cannot or prefer not to update to the latest versions, go to Step 1 and follow the detailed guide below to update the Chaos License Server application independently. This guide walks you through everything you need to do to ensure your licensing system is updated and functional before January 28, 2025.
Step 1: Important Notes Before Updating
If you or your organization’s users sign in to their Chaos accounts to access licenses, this update must be performed on each device. This applies to both individual license holders and organizations using cloud-based floating licensing.
Note: If you are using the Chaos License Server as a service, please refer to the “Exceptions” section at the bottom of the article for more details.
Troubleshooting: Removing Older Versions
If you encounter issues during installation, ensure older versions of the Chaos License Server are fully removed.
For Windows Users:
Uninstall the Chaos License Server:
Navigate to: Start Menu > Control Panel > Add or Remove Programs, locate the Chaos License Server, and uninstall it.
Delete the following folders:
C:\Program Files\Chaos
C:\Program Files\Chaos Group\VRLService
C:\Program Files\Common Files\ChaosGroup\ssl
%appdata%\Chaos\VRLService\ssl
For macOS Users:
Remove the Chaos License Server app.
Delete the following folder: /Users/YOUR_USERNAME/.ChaosGroup/ssl
To access this folder:
Open Finder.
Select Go > Go to Folder, and enter ~/.ChaosGroup/ssl.
If you are still unable to proceed after following these troubleshooting steps, please contact Chaos Support. You can do that from the following page.
Exceptions
For Users Borrowing Licenses for Offline Use
If you are currently borrowing licenses for offline use, it is recommended that you update the license server app and re-borrow your licenses once more. Alternatively, you will need to do this when the borrowed licenses expire.
For Chaos License Server 5.5.5 Users
If you are currently using version 5.5.5 or older, which supports running the license server as a service, you should update to version 5.5.6. This version is compatible, runs as a service, and is up to date.
Enscape’s 4.2 update introduces powerful features designed to enhance real-time rendering workflows. Here’s a detailed look at what’s new:
1. Revit Graphics Override
This feature allows designers to achieve visual consistency across Revit views, giving presentations and exports a more cohesive look. Now, any adjustments to model appearances in Revit translate directly to Enscape, eliminating the need to adjust graphics between platforms manually.
2. World Coordinate System (WCS) Mapping for Rhino
For Rhino users, WCS Mapping enables material textures to remain true-to-scale regardless of object dimensions or transformations. This means materials such as wood grains and tiled surfaces retain accurate alignment, crucial for models requiring consistent, real-scale materials.
3. Improved Software Ray-Tracing
Enscape 4.2 enhances ray-tracing for software that allows more realistic lighting and shadow behavior, supporting better illumination in challenging spaces. Designers can create renderings that not only capture natural light more convincingly but also refine the level of detail in shadows and reflections.
4. Expanded Section Plane Support
Both Rhino and Vectorworks now support up to six section planes, giving users more flexibility in how they present or dissect their models. This added capability is particularly beneficial for large-scale projects or complex designs where multiple sections are needed to illustrate structural relationships.
5. Enhanced Artistic Visual Modes
For users looking to add a unique, stylized look to their models, Enscape has expanded its Artistic Visual Modes. The latest update includes more texture options and shading effects, ideal for exploring conceptual designs or creating high-impact visuals for presentations.
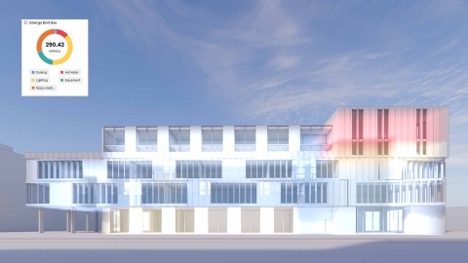
6. Enscape Impact Add-On
Sustainability has become increasingly integral to design, and Enscape’s new Impact add-on supports energy performance analysis directly within the render. This tool enables designers to make informed, sustainable design decisions right from the earliest stages, considering energy efficiency as part of the creative process.
With Enscape 4.2, designers have a toolkit that boosts accuracy, adaptability, and visual quality. These updates not only improve productivity but also empower architects, interior designers, and planners to deliver more engaging and sustainable designs.
Features the latest informative and technical content provided by our industry experts for designers, engineers, and construction firms and facility owners.