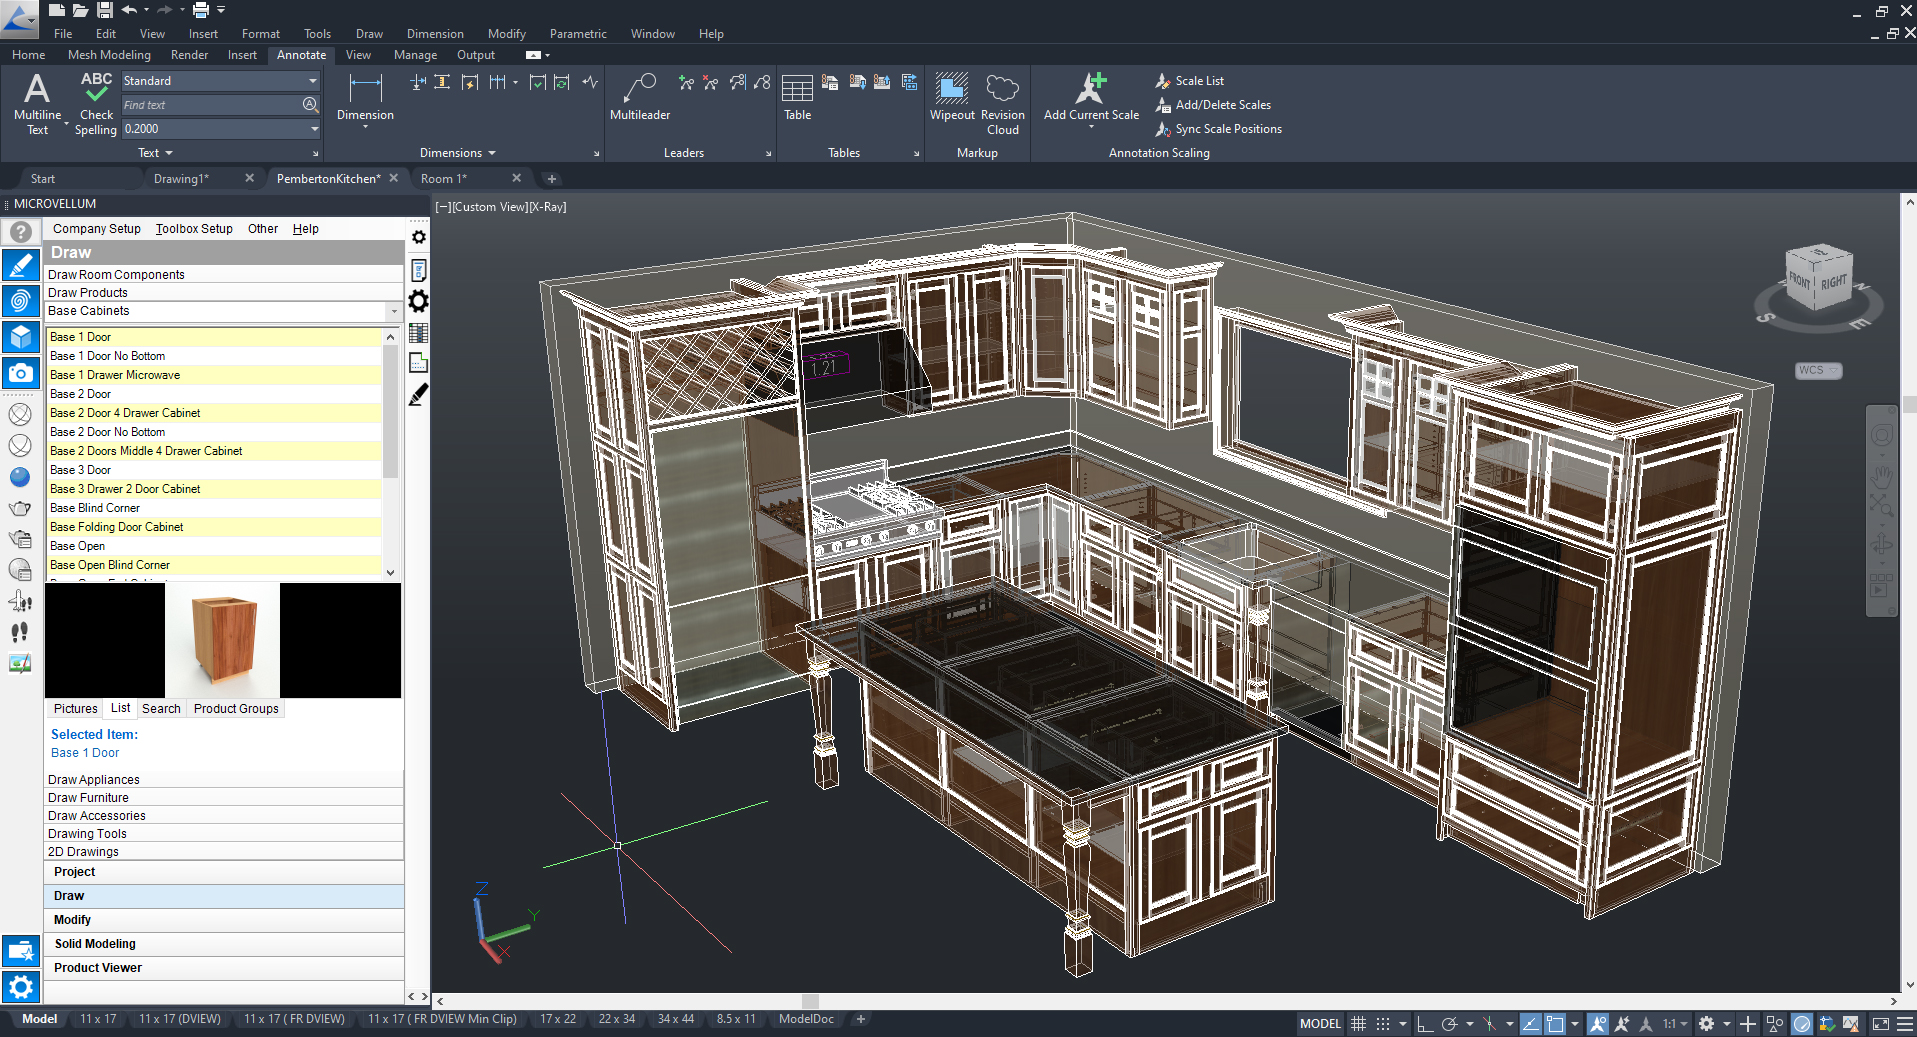
In Bluebeam Revu, toolsets are a powerful feature that allows users to store and save customized markups for efficient reuse. These markups can be tailored to specific project needs, such as measurement markups for different flooring materials or color-coded punch key symbols. By adding these customized markups to the tool chest, you can quickly access them in future sessions without the need for manual customization each time. Toolsets enhance both efficiency and organization, making it easy to find and apply the exact tools you need for markup tasks.
Types of Bluebeam Toolsets
Bluebeam Revu offers various types of toolsets to accommodate different workflows and requirements. Some of the key toolsets include:
My Tools: This toolset is designed for commonly used tools, such as text boxes and highlighters, and is prepopulated with essential markup tools. Each tool in this set includes a keyboard shortcut for quick access.
Recent Tools: The Recent Tools toolset displays markups that were placed most recently during your Bluebeam session. It provides quick access to tools used in the current session and automatically clears at the end of each session.
Custom Toolsets: Users can create custom toolsets to organize markups according to specific project needs. Custom toolsets are especially useful for standardizing tools across multiple project teams.
Profile-Specific Toolsets: Depending on the profile you’re using in Bluebeam Revu, you may have access to different too sets tailored to specific industries or workflows. For example, the Quantity Takeoff profile includes measurement toolsets, while the Field Issues profile includes punch walkthrough symbols.
Steps for Creating Custom Toolsets In Bluebeam
Now, let’s explore how to create and customize your own toolsets in Bluebeam Revu. Follow these steps to get started:
Step 1: Access the Tool Chest Panel
Launch Bluebeam Revu and open your PDF document.
Locate the Tool Chest panel in the panel access bar. The panel’s exact location may vary depending on the profile you’re using, but in the default profile, it’s typically found on the left side of the Revu interface.
Step 2: Customize Default Toolsets
The Tool Chest panel will display default toolsets, including “My Tools” and “Recent Tools.” You can customize these toolsets by showing or hiding specific tools. To reuse a tool from a toolset, simply select the tool icon, and it will be automatically docked onto the cursor for reuse.
Step 3: Create a Custom Toolset
To create a custom toolset, go to “Tool Chest” and select “Manage Toolsets.”
In the “Manage Toolsets” window, click the “Add” button to create a new toolset.
In the “Add Toolset” window, provide a title for your new toolset under “Title.”
Under “Options,” configure the settings:
Display: Check this option to make the toolset automatically display in the Tool Chest.
Show in All Profiles: Enable this option to display the toolset in all profiles within Revu.
Relative Path: Keep this option selected for default behavior.
Click “OK” to create the new toolset and exit the “Manage Toolsets” window.
Step 4: Customize Your Custom Toolset
Your new, blank toolset will now appear in the Tool Chest panel. To customize it, add tools to the set.
Step 5: Add Tools to Your Custom Toolset
There are two methods to add tools to your custom toolset:
Drag and Drop: If the desired tool is already within a toolset, you can add it to your custom set by dragging and dropping it.
Add from PDF: If the desired tool is not available within a toolset, first add it to an open PDF. Customize the tool’s visual appearance and properties as needed. Then, right-click on the markup and select “Add to Toolset.” Choose your custom toolset to place it in.
Step 6: Export and Share Custom Toolsets
To share your custom toolset with others, select the context gear next to the toolset and choose “Export.”
Save the toolset as a .btx file on your local drive. This file can be shared via email, network, or cloud file-sharing systems.
Recipients can activate the toolset in their Bluebeam Revu application by double-clicking the .btx file.
By following these steps, you can create, customize, and share custom toolsets in Bluebeam Revu, streamlining your PDF markup workflows and ensuring consistency in project teams.
Whether you’re in architecture, construction, engineering, or other industries, custom toolsets can enhance your productivity and efficiency.
In the ever-evolving world of construction, precision and efficiency are paramount. Construction modeling software plays a pivotal role in ensuring that projects run smoothly, from initial design to project completion. These software tools allow architects, engineers, contractors, and other stakeholders to collaborate seamlessly, reduce errors, and visualize projects in 3D. In this article, we’ll explore the top 6 construction modeling software options: AutoCAD, Revit, SketchUp, DataCAD, Navisworks, and Vectorworks Architect and Vectorworks Designer. Let’s dive into the world of construction modeling and discover how these tools can revolutionize your workflow.
AutoCAD
AutoCAD, a well-known name in the world of computer-aided design (CAD) software, is a powerhouse for architects, engineers, and designers. While not exclusively a BIM tool, AutoCAD offers robust 2D drawing and 3D modeling capabilities, making it an essential part of the construction modeling toolkit.
Key Features of AutoCAD:
2D and 3D Modeling:AutoCAD enables users to create intricate 2D and 3D models with precision and ease.
Collaboration: It provides collaboration options, making it easy to share and work on projects with teams.
Customization:AutoCAD’s customizable interface allows users to tailor the software to their specific needs.
Architectural Features: While primarily a CAD program, AutoCAD offers BIM and architectural features for construction projects.
Why Choose AutoCAD:AutoCAD’s versatility and compatibility with other design software make it a go-to choice for architects, engineers, and construction professionals. It’s known for its reliability and wide range of functionalities, making it an indispensable tool in the construction industry.
Revit
Revitis a dedicated Building Information Modeling (BIM) software designed to cater to the needs of architects, engineers, and construction professionals. It excels in creating high-quality 3D models and streamlining the documentation process.
Key Features of Revit:
High-Quality 3D Modeling:Revit allows users to create detailed 3D models with accuracy and precision.
Documentation: It streamlines the documentation process with features like instant plan revision and elevations.
Collaboration:Revit’s unified project environment facilitates collaboration among teams, ensuring everyone is on the same page.
Interoperability: It offers interoperability support for various CAD and BIM tools, enhancing data sharing and analysis.
Why Choose Revit: For professionals seeking dedicated BIM software with a focus on architectural design and construction, Revit is the ideal choice. It offers advanced features for project analysis and documentation, making it a valuable asset in complex construction projects.
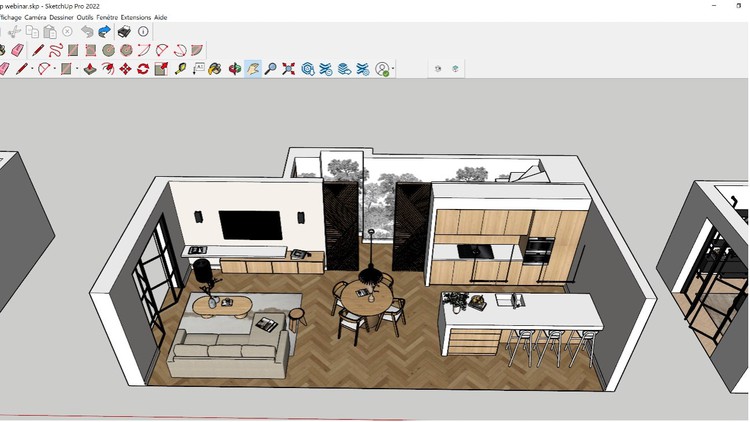
SketchUp
SketchUp, known for its user-friendly interface and versatility, is a 3D modeling software that finds applications in various industries, including construction. Its ease of use makes it accessible to both beginners and professionals.
Key Features of SketchUp:
3D Modeling: SketchUp provides powerful 3D modeling tools for creating intricate designs.
Plugin Support: Users can extend SketchUp’s functionality with a wide range of plugins.
Real-Time Visualization: It offers real-time model visualization, allowing users to see changes instantly.
Library of 3D Models: SketchUp boasts a vast collection of pre-built 3D models for quick project development.
Why Choose SketchUp: SketchUp is an excellent choice for architects and designers who prioritize user-friendliness and quick design iterations. Its real-time visualization and extensive library of 3D models make it an efficient tool for construction projects.
DataCAD
DataCAD is an architectural design and construction documentation software that combines drafting and 3D modeling tools. It’s recognized for its user-friendliness and short learning curve.
Key Features of DataCAD:
User-Friendly: DataCAD is known for its short learning curve, making it accessible to new users.
3D Modeling: It offers 3D modeling tools for creating detailed architectural designs.
Collaboration: Users can easily collaborate with team members using DataCAD’s 3D models.
Why Choose DataCAD: DataCAD’s simplicity and 3D modeling capabilities make it a valuable tool for architects who want to quickly create detailed architectural designs. Its collaborative features enhance teamwork in construction projects.
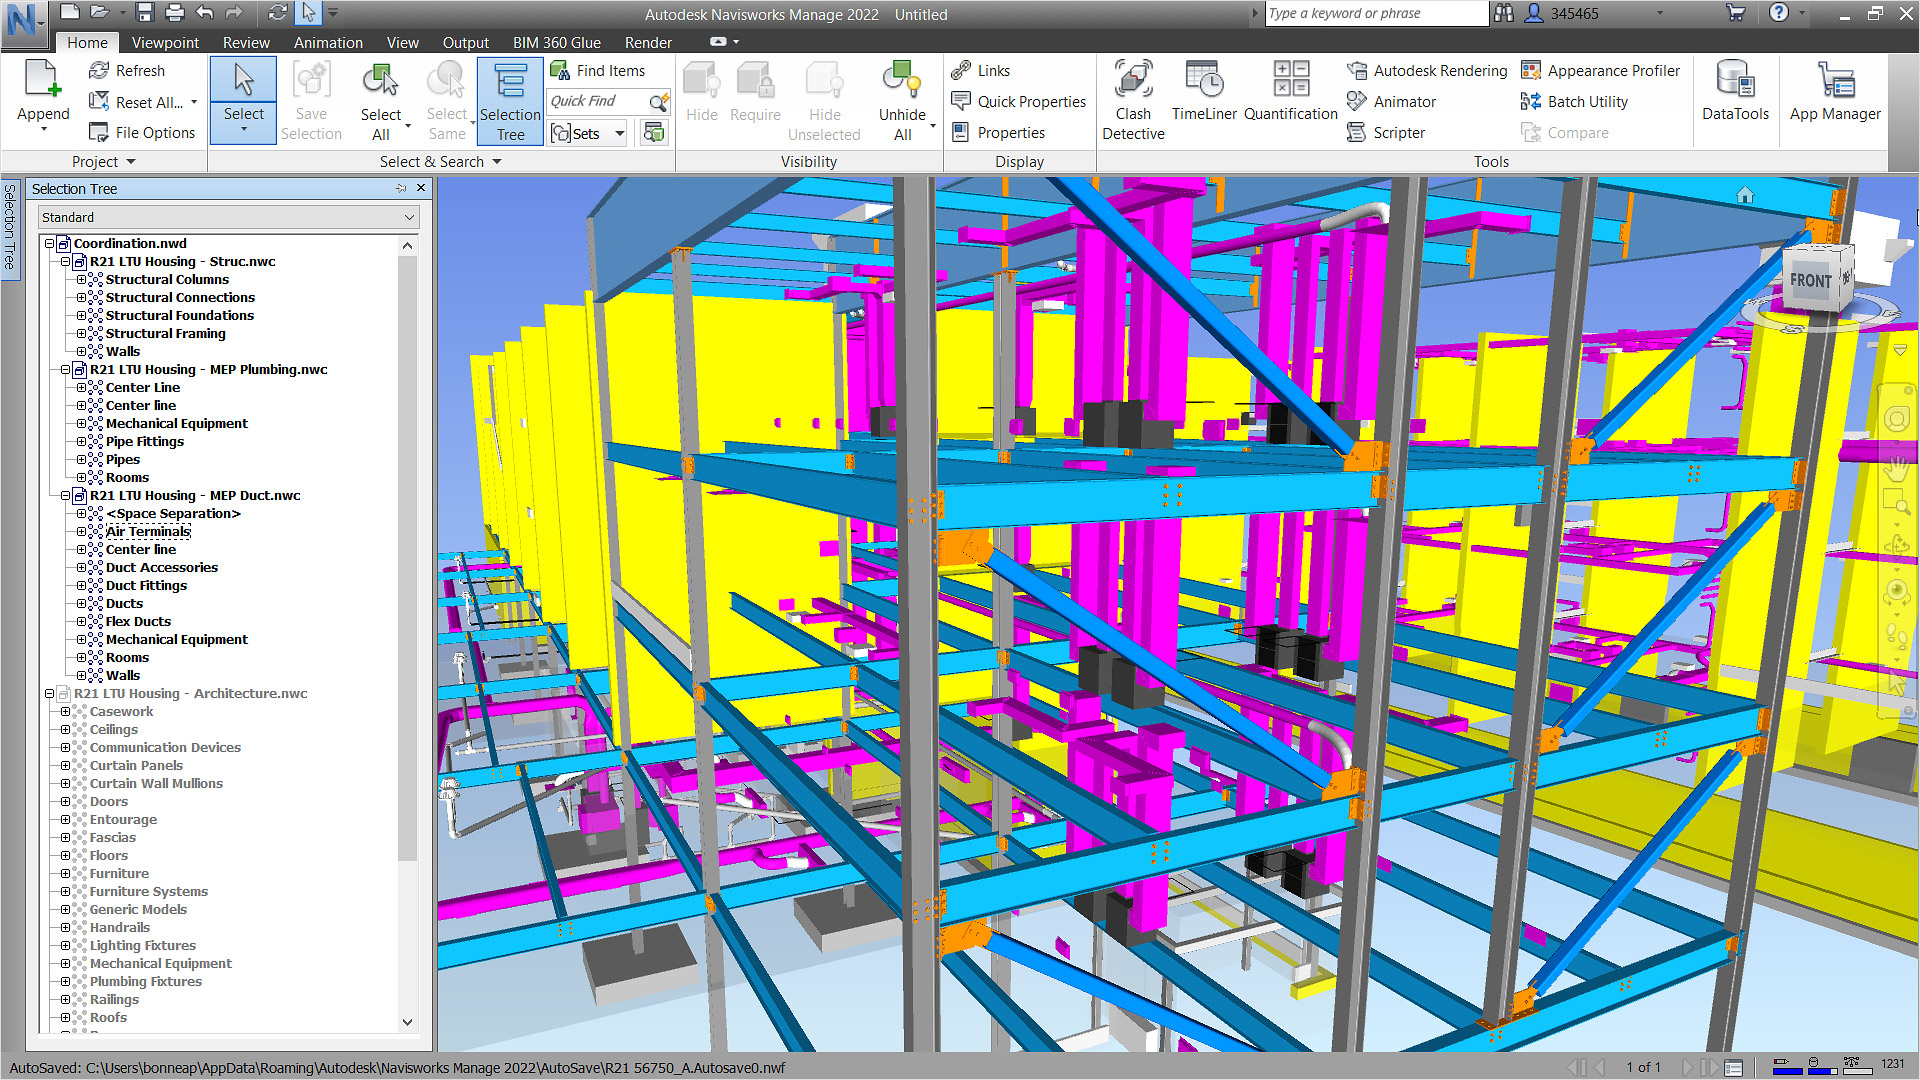
Navisworks
Navisworks is a review and coordination tool specifically designed for project delivery. It enables users to visualize and consolidate construction design data into one federated model.
Key Features of Navisworks:
Clash Identification: Navisworks helps identify clash and interference issues, saving time and preventing on-site errors.
4D Simulations: Users can create 4D simulations and animate model objects for project scheduling.
Integration: Navisworks integrates with software like Revit and AutoCAD, allowing seamless data exchange.
Takeoff Analysis: It provides tools for analyzing takeoff data, facilitating cost estimation.
Why Choose Navisworks: For construction professionals looking to streamline project delivery and prevent clashes and errors, Navisworks is an invaluable tool. Its ability to create 4D simulations enhances project planning and execution.
Vectorworks Architect & Vectorworks Designer
Vectorworks Architect and Vectorworks Designer are comprehensive design tools with modeling, drafting, and documentation capabilities. They excel in architectural design and offer features like site information modeling (SIM) and automated schedules.
Key Features of Vectorworks Architect and Designer:
Energy Analysis: Vectorworks Architect offers built-in energy analysis features for sustainable design.
Collaboration: Users can collaborate seamlessly and share multiple documents within the software.
Customization: Vectorworks allows for a flexible workflow, accommodating various design preferences.
2D and 3D Modeling: It offers both 2D and 3D modeling capabilities for comprehensive project visualization.
Why Choose Vectorworks Architect and Designer: Vectorworks Architect and Designer are ideal for architects and construction managers who require versatile design tools with a focus on energy analysis and collaboration. Their robust modeling and documentation features enhance project efficiency.
In conclusion, construction modeling software plays a crucial role in modern construction projects. These tools empower professionals to create high-quality 3D models, streamline collaboration, and prevent errors during the project lifecycle.
Whether you prioritize user-friendliness, in-depth BIM capabilities, or specialized features, the top 6 construction modeling software options mentioned here offer solutions for a wide range of construction needs.
Choose the one that best aligns with your project requirements and take your construction projects to new heights.
If you’re an interior designer or considering a career in interior design, you’ve probably heard about Autodesk Revit. It’s a powerful tool in the world of design and architecture, but you might wonder if it’s worth adding to your skillset. In this article, we’ll explore what Revit is, how it’s applied in interior design, and the compelling reasons why you should use Revit for your interior design projects.
What Is Revit?
Revit is a software application developed by Autodesk. While it’s not a 2D drafting program like AutoCAD, it’s also not quite like 3D modeling programs such as 3ds Max. Instead, Revit is a parametric modeling program designed specifically for creating architectural projects. It’s a versatile tool that has found its place in the realm of Building Information Modeling (BIM).
BIM involves creating detailed digital representations of buildings, including their physical and functional characteristics. This technology allows architects, designers, and engineers to collaborate seamlessly on a project by providing a shared platform for information and design integration. Revit is a leading software in this field, making it a valuable asset for interior designers.
The Application Of Revit In Interior Design
Now that you have a basic understanding of what Revit is, let’s delve into how it’s applied in interior design:
Simpler Interior Design: Revit streamlines interior design by automating various aspects. When you add a door or window, Revit automatically fits it into the wall, eliminating tedious manual adjustments. It also offers architectural features that are invaluable for interior space planning.
3D Visualization: Revit allows you to create spaces in 3D, offering a realistic view of your designs. You can seamlessly switch between 2D and 3D views, which is incredibly useful for conveying your design ideas to clients and investors. Additionally, using BIM clash detection, you can avoid costly errors that might compromise safety.
Data Scheduling: Revit’s scheduling capabilities enable you to extract and use BIM data throughout your projects. You can compare and edit data using an interface similar to Microsoft Excel. For instance, you can create Room Datasheets for product lists, enhancing project organization.
Ease Of Modifications: Interior design is an iterative process, and Revit makes it easy to accommodate changes. You can adjust the size of furniture, move partitions, or replicate furniture elements effortlessly, ensuring your design remains flexible.
Multiple Views: Revit enables you to create a single model for your interior design, which can be viewed from various angles and perspectives. You can generate floor plans, ceiling plans, elevations, sections, 3D views, and more from the same model, keeping your project file concise and consistent across all views.
Building A Library: To streamline your design process, Revit allows you to create a library of custom objects or families. These objects can be reused in different projects, saving you time and effort in recreating common design elements.
Impressive Presentations: Instead of presenting traditional sketches to your clients, Revit empowers you to showcase your designs with photorealistic 3D renderings. This immersive experience helps clients better visualize and understand your design concepts.
Reasons Why You Should Use Revit For Interior Design
Now that you understand how Revit is applied in interior design, let’s explore some compelling reasons why you should consider incorporating Revit into your design workflow:
Reason 1: Streamlined Design Process
Revit simplifies many aspects of the interior design process. From automatic adjustments to seamless 3D visualization, it allows you to focus more on the creative aspects of your designs and less on tedious manual tasks. This streamlining can significantly boost your efficiency and productivity.
Reason 2: Enhanced Collaboration
In the world of interior design, collaboration is key. Revit’s BIM capabilities facilitate smooth collaboration with architects, engineers, and other professionals involved in a project. Everyone can work on the same model simultaneously, reducing miscommunication and errors.
Reason 3: Data-Driven Design
Revit is a data-rich platform. It stores information about every element in your design, from dimensions to materials. This data-driven approach enables you to make informed design decisions, generate accurate schedules, and even perform energy analysis, contributing to more sustainable designs.
Reason 4: Industry Demand
Many design firms and architecture offices are transitioning to Revit due to its versatility and capabilities. By mastering Revit, you make yourself a more attractive candidate for employment in the design industry, increasing your chances of landing a job.
Reason 5: Flexibility For Project Types
While Revit is often associated with commercial design, it’s equally suitable for residential and furniture design. Its flexibility allows it to adapt to various project types, making it a valuable tool regardless of your specialization.
Limitations of Using Revit in Interior Design
While Revit offers numerous benefits for interior designers, it’s essential to be aware of its limitations:
Learning Curve: Revit has a steeper learning curve compared to some other design software. You may need to invest time in learning its intricacies and functionalities.
Resource-Intensive: Running Revit smoothly requires a capable computer with sufficient processing power and memory. Older or less powerful machines may struggle to handle larger projects.
Cost: Revit is not free software, and licensing costs can be a consideration, especially for independent designers or small firms.
Can Revit be Used for both Commercial and Residential Projects?
Yes, Revit is a versatile tool that can be applied to a wide range of projects, including both commercial and residential designs. Its adaptability, collaborative features, and data-driven approach make it a valuable asset for interior designers regardless of the project type.
In conclusion, using Revit for interior design can significantly improve your workflow, enhance collaboration, and open up new career opportunities. While there is a learning curve and licensing costs to consider, the benefits far outweigh the drawbacks. Embracing Revit as a part of your design toolkit can elevate your interior design projects to new heights, making them more efficient, accurate, and visually stunning. So, should you use Revit for interior design? The answer is a resounding yes.
Features the latest informative and technical content provided by our industry experts for designers, engineers, and construction firms and facility owners.