As of April 30, 2025, we’re proud to announce our exciting new chapter. | Read more here.
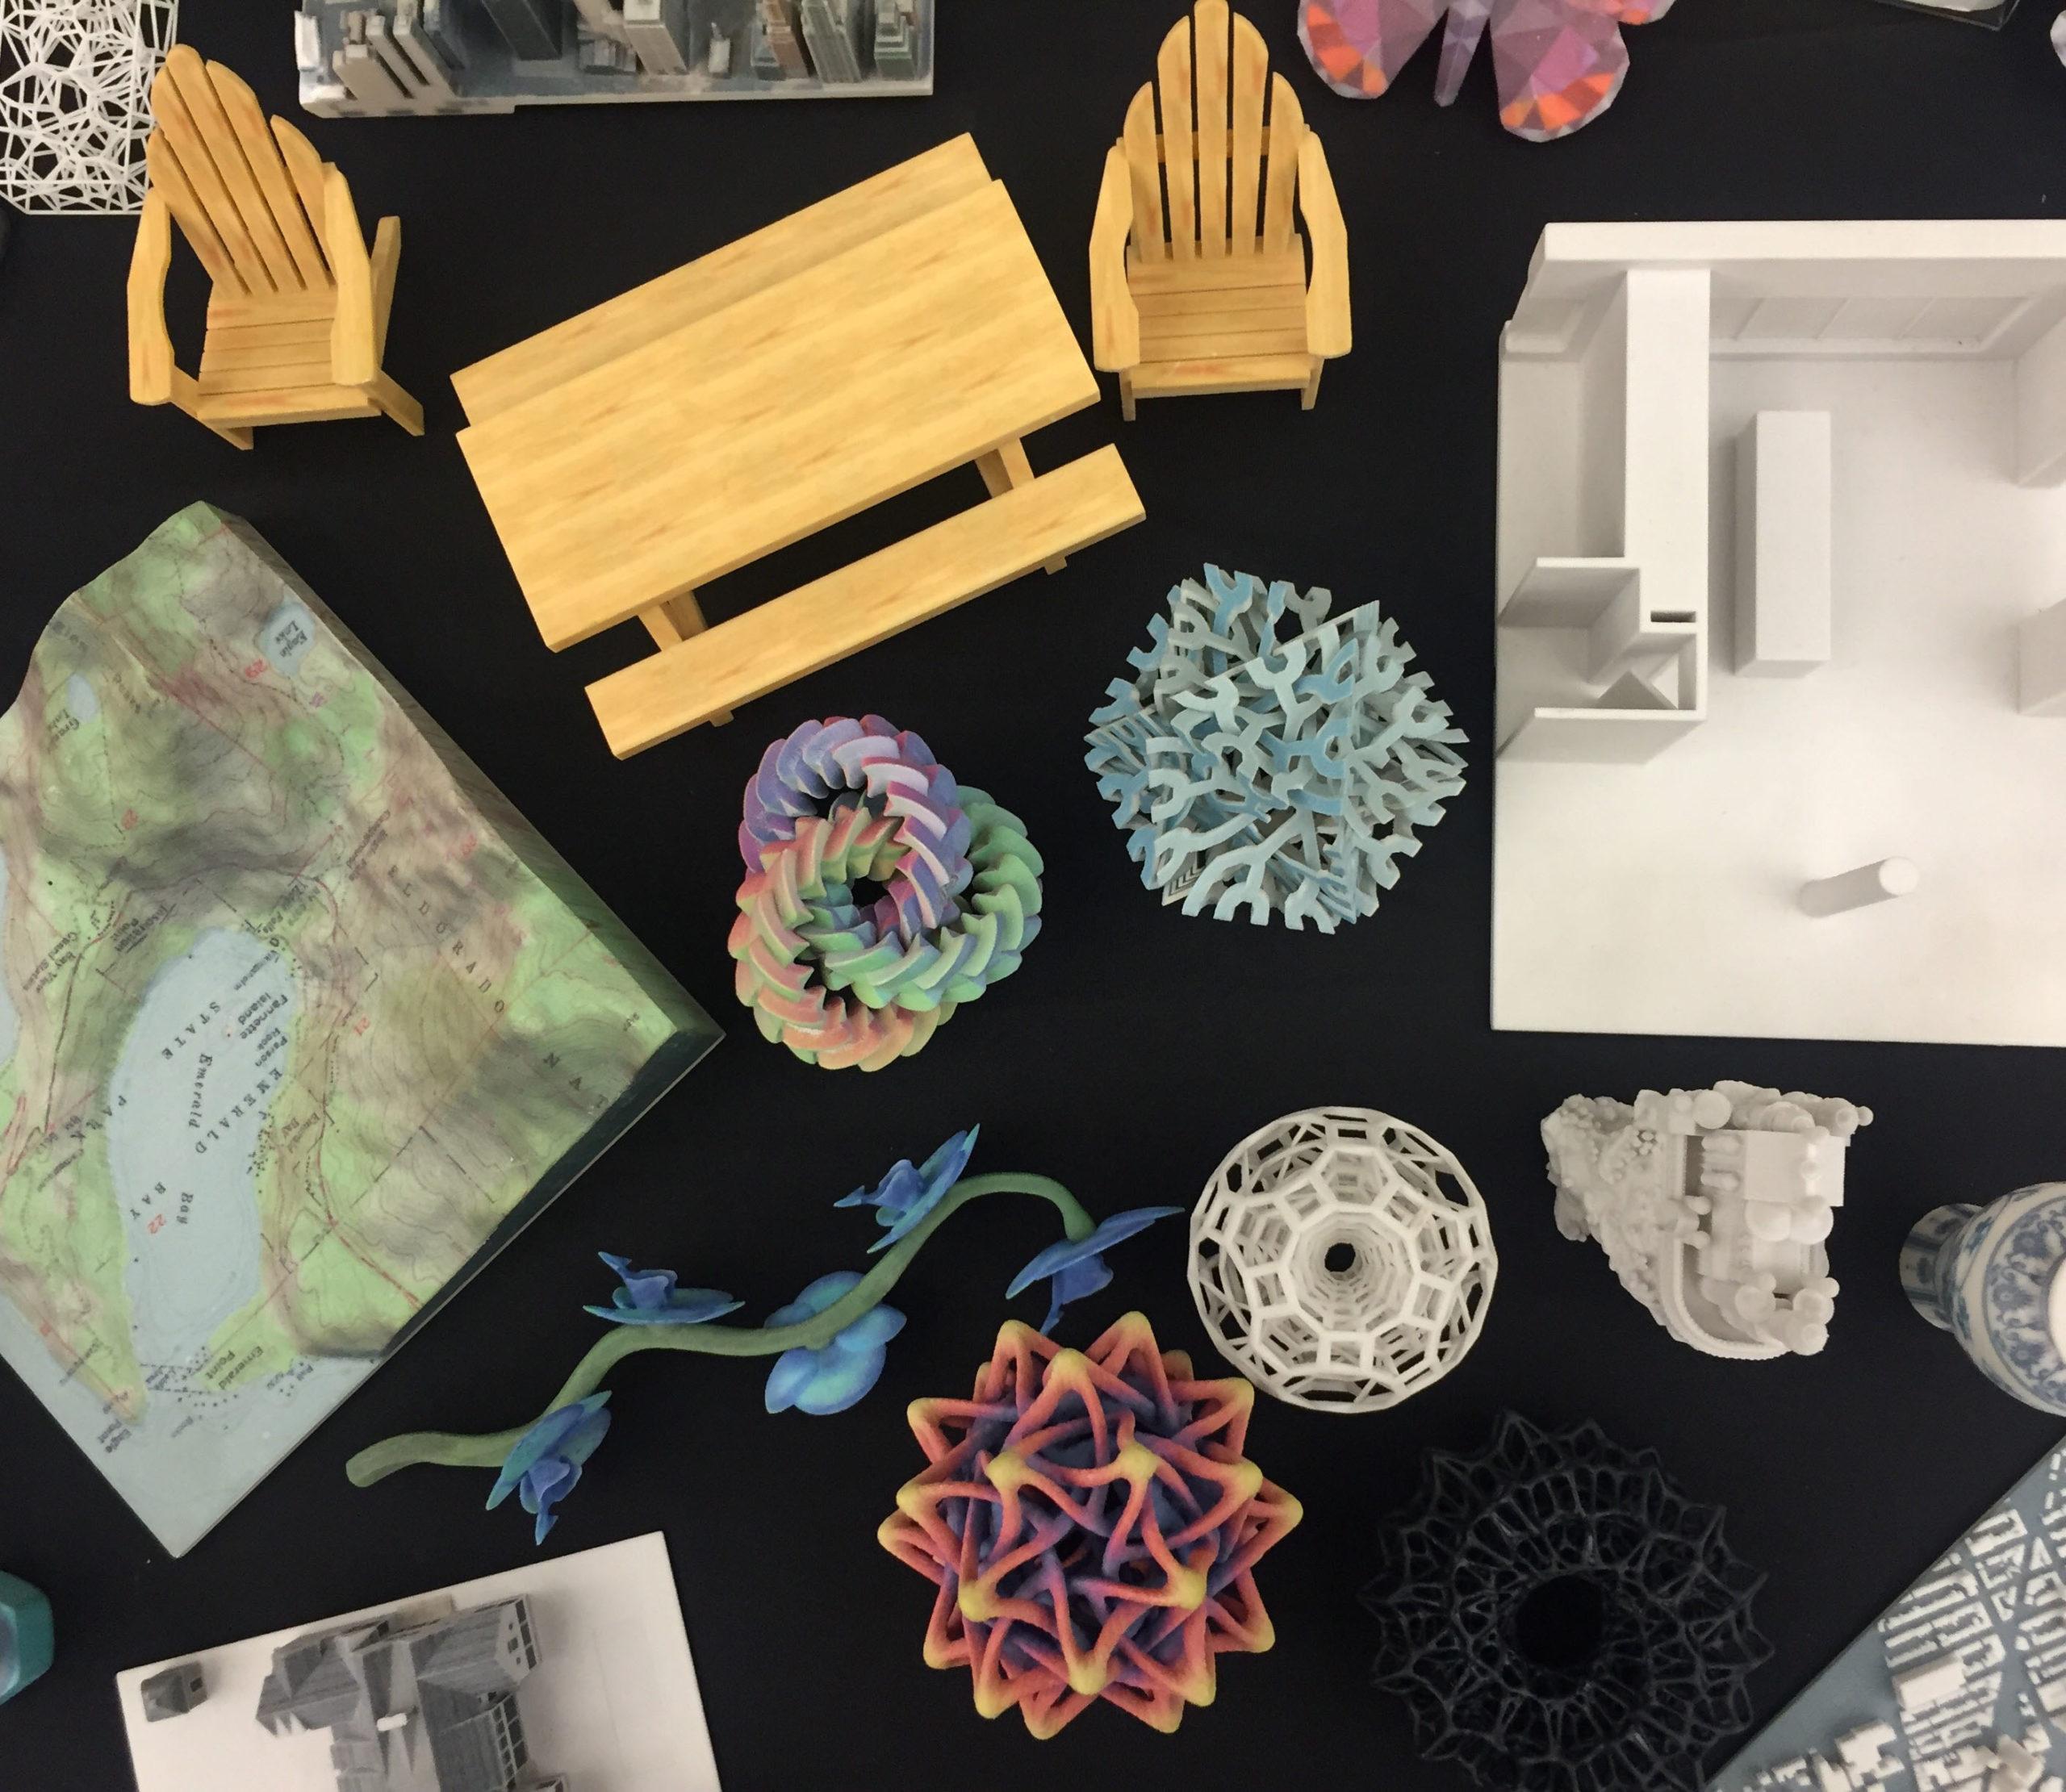
Learning how to create 3D printable geometry in various applications; AutoCAD, Revit, Rhino, 3D Studio Max. Prepare your design for 3D printing and check for errors. We will discuss the various techniques for repairing errors.
You are viewing upcoming Making & Repairing your Model for 3D Printing classes. Click here to view all classes available.
Design a unique class with your data sets and workflows.
Don’t see a class that works for you?
Class Details & Description
PREREQUISITE
Working knowledge of Windows OS and basic understanding of 3D modeling application
TRAINING OPTIONS
In-Person & Live Online Training Duration: 4 hours & Valid for 4 AIA LU
OnDemand Training: Not applicable for AIA LU
Custom Training: Hours & AIA LU Varies
Learning how to create 3D printable geometry in various applications; AutoCAD, Revit, Rhino, 3D Studio Max. Prepare your design for 3D printing and check for errors. We will discuss the various techniques for repairing errors
WHAT IS ADDITIVE MANUFACTURING: We start with a discussion about the various 3D printing technologies. CJP – Color Jet Printing, Binder 3D Printing, SLA – Stereolithography, SLS – Selective Laser Sintering, Selective laser melting (SLM), MJP – Multi Jet Printing, DLP – Digital Light Processing, Photopolymerization – Using UBV Light to harden a liquid, DMP – Direct Metal Printing, FDM – Fused Deposition Modeling
DEFINITION OF A WATER TIGHT SOLID: Learn what kind of geometry can be 3D printed.
EXPORTING GEOMETRY TO THE APPROPRIATE FILE FORMAT: There are various acceptable file formats depending on the 3D printing technology you are using. We will discuss the setting and considerations required to ensure the best outcome. We also discuss model resolution and scale. The need for confirmation of size color and finial material properties after post processing.
UNDERSTANDING THE MATERIAL AND LIMITATIONS: The benefits and limitations of the various materials and printing technologies. Model optimization, wall thickness, making a model hollow and the need for supports are discussed. We consider the best way to uses less material and consider when appropriate.
GENERATING SUPPORTS & PROPER ORIENTATION: We discuss the need for support structure and the ways to avoid unnecessary additions. Proper model placement, alignment and orientation can have a big effect on the outcome depending on the technology.
UNDERSTANDING THE COSTS & TIME INVOLVED: Print time estimate, cost analysis, planning and meeting deadlines. Nothing kills the excitement about improving a client presentation than not meeting a deadline.
Download the Curriculum »
