The National Oceanic and Atmospheric Administration (NOAA) provides free access to their Data Access Viewer (DAV). The DAV allows users to search for and download various data types for the coastal U.S. and its territories. The data types available are elevation, imagery, and land cover data. This data can be useful on all phases of a design project, so let’s explore how to access LiDAR data for use in Autodesk applications that support point clouds.
NOAA’s Data Access Viewer (DAV) can be accessed via this link (https://coast.noaa.gov/dataviewer/#/) and can be used to access elevation, land cover, and imagery datasets for the coastal regions of the United States.
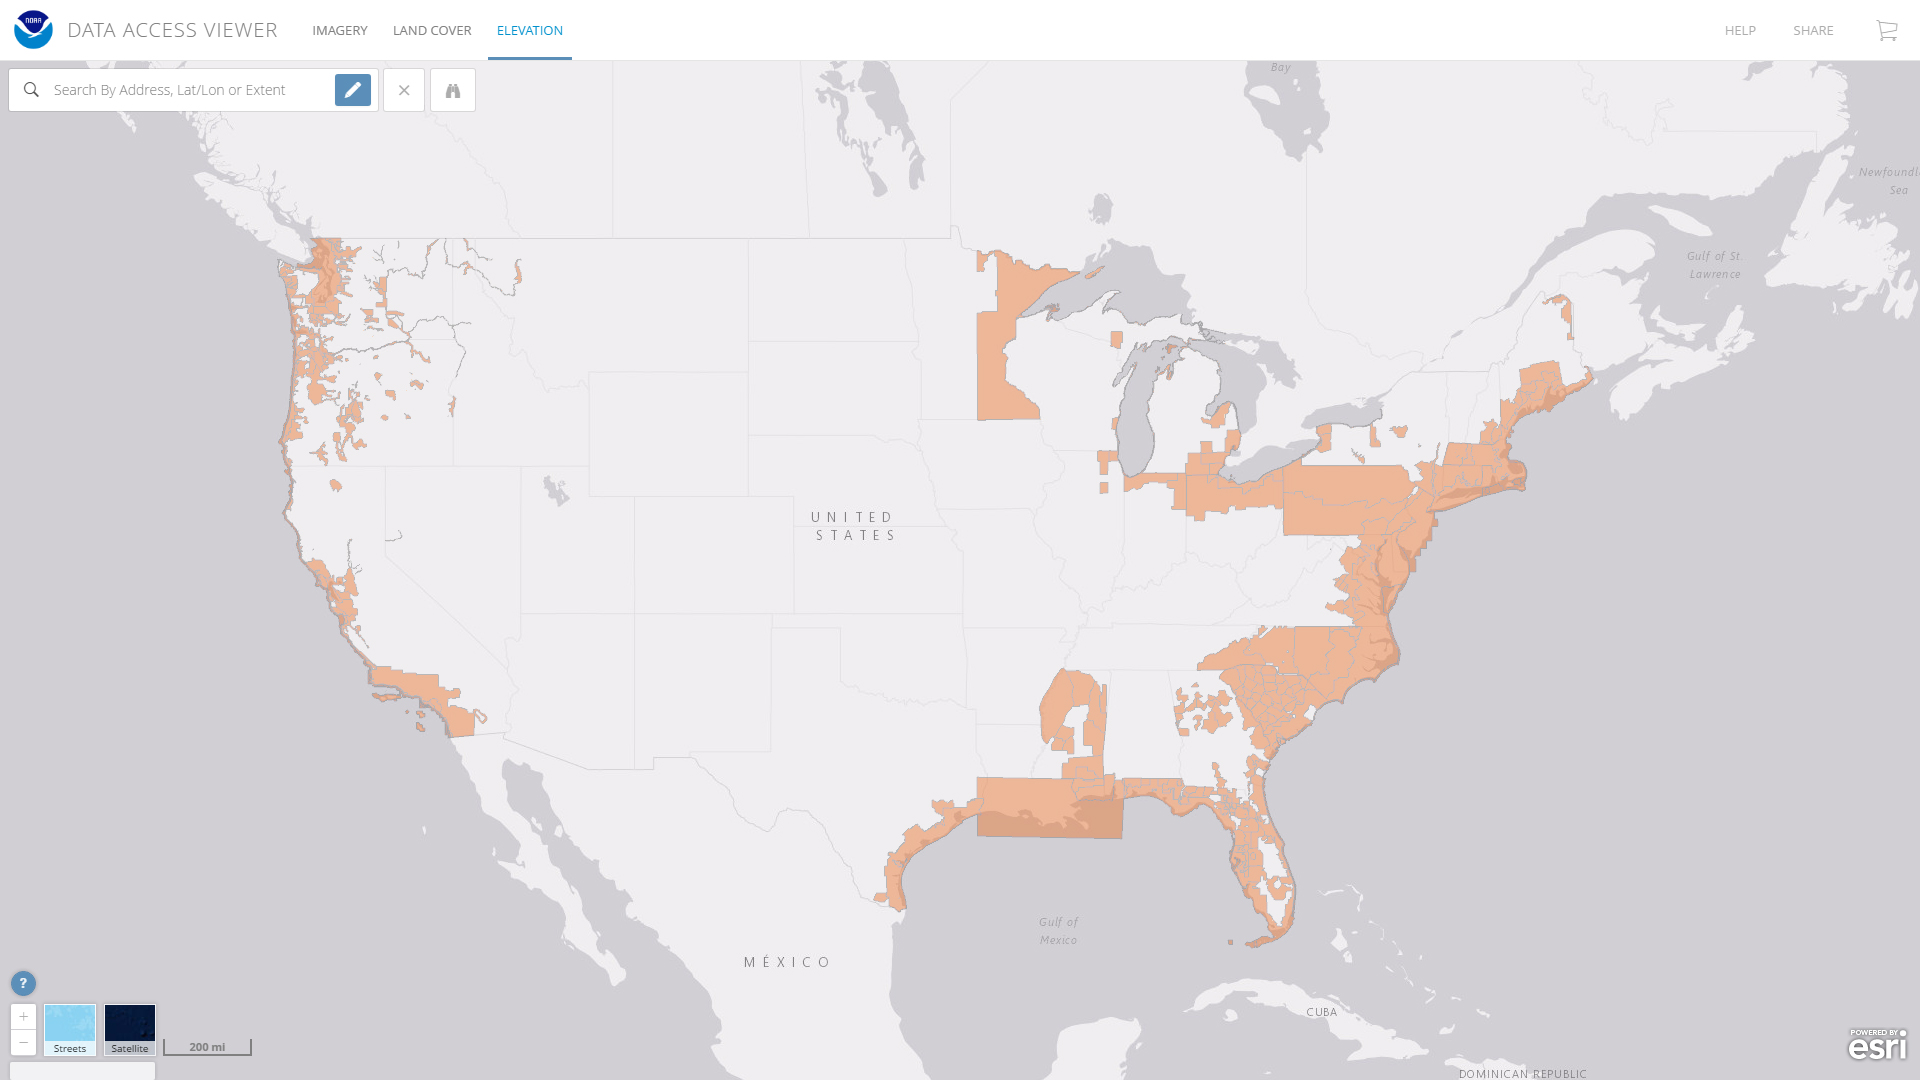
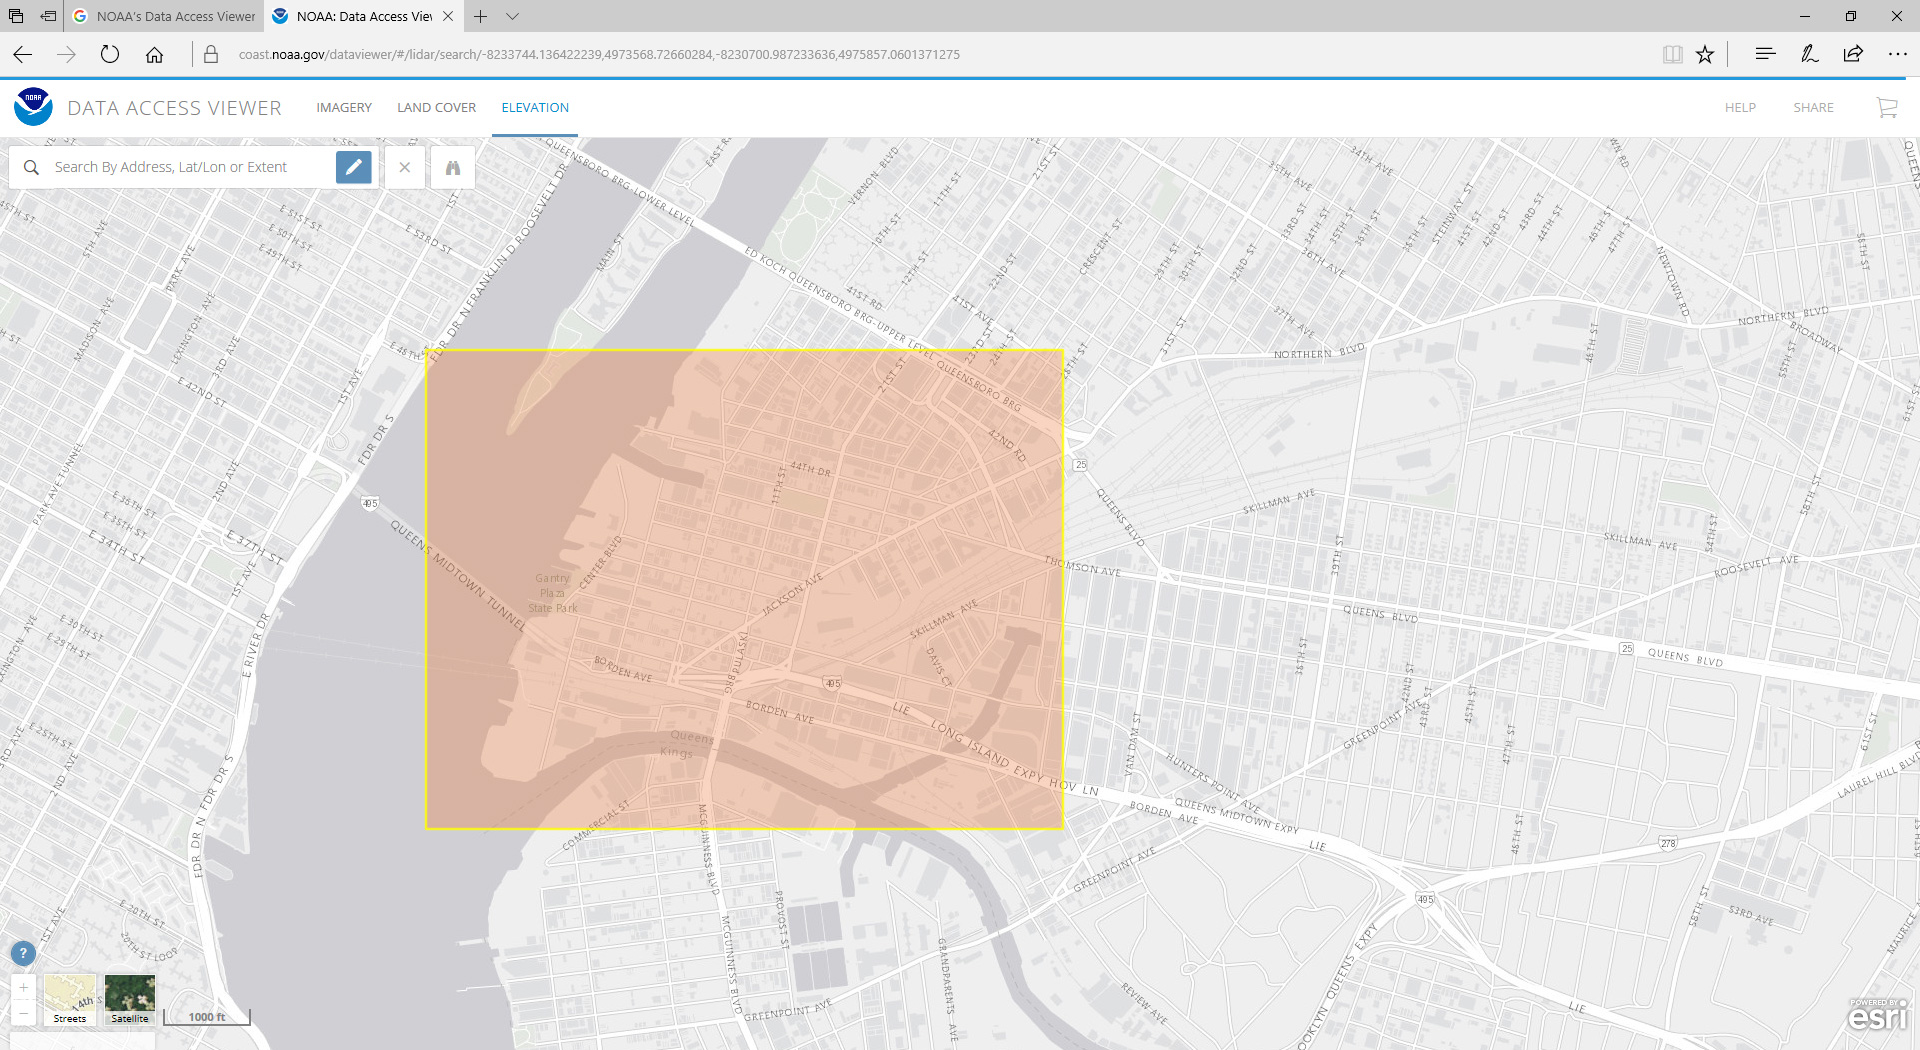
After selecting Elevation, zoom into or draw your area of interest (AOI). Alternatively, enter in an address or the coordinates of your project area. You can then see the available data for that region or range. I’ve drawn a region around Long Island City, NY for this example. For that AOI there are three DEM files (digital elevation models) and two LiDAR files are available.
 |
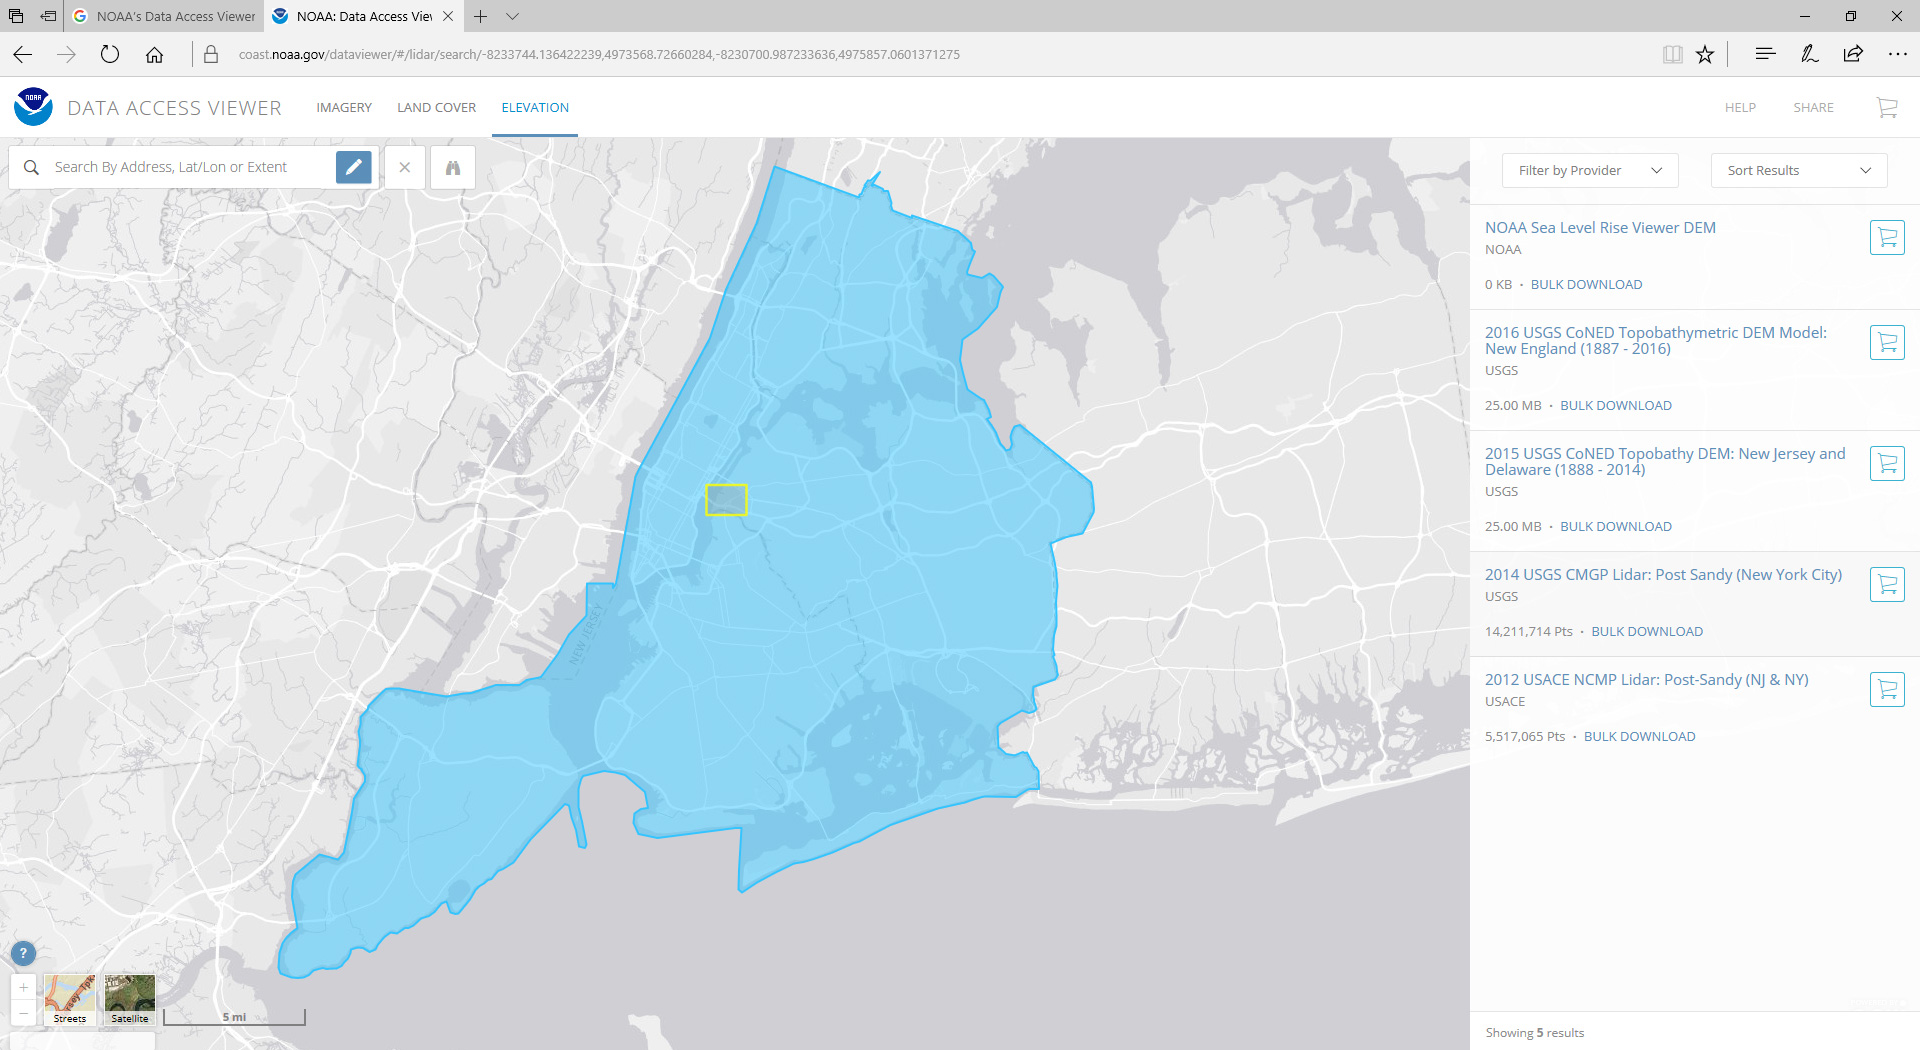 |
I’m interested in the latest LIDAR scan from the USGS and so I have one of two additional choices. I can use the bulk download feature to download the various tiles that make up my AOI. Alternatively, I can add my request to the cart and let NOAA’s servers process the request to only provide the points bound by my AOI. I will choose the latter which allows me to make additional changes to how I want to receive the data.
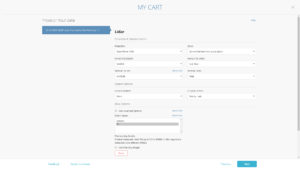 I want point cloud information, so I need to change the OUTPUT PRODUCT from Raster to Point. Additionally, I will verify the output format is an LAS file, a format that can be imported into Autodesk Recap. Lastly, I will verify that Data Classes include all points, not just the ground points. To wrap up, enter an email address to allow NOAA’s servers to contact you once the job is ready for download. Click the image on left to see these settings.
The processing time for this job example took about 5 minutes to generate. Once you have received and downloaded your LiDAR scan you will want to import the LAS file(s) into AutoCAD ReCap. Processing the LiDAR scan in Recap allows you to use this scan in Autodesk products such as Civil 3D, Revit, Navisworks, Infraworks, and 3ds Max.
To begin, create and name a new Recap project by choosing a project name directory to store the project. Next, using Windows Explorer, browse to the LAS file(s) you extracted and drag-and-drop them onto Recap.
Dragging and dropping these files onto the target icon in ReCap will take you to a screen where you can change the Scan Settings.
Click on Advanced Settings. It’s important to note it is only at this point of the importing process that you can transform the LiDAR scan from its original coordinate system to your desired coordinate system.
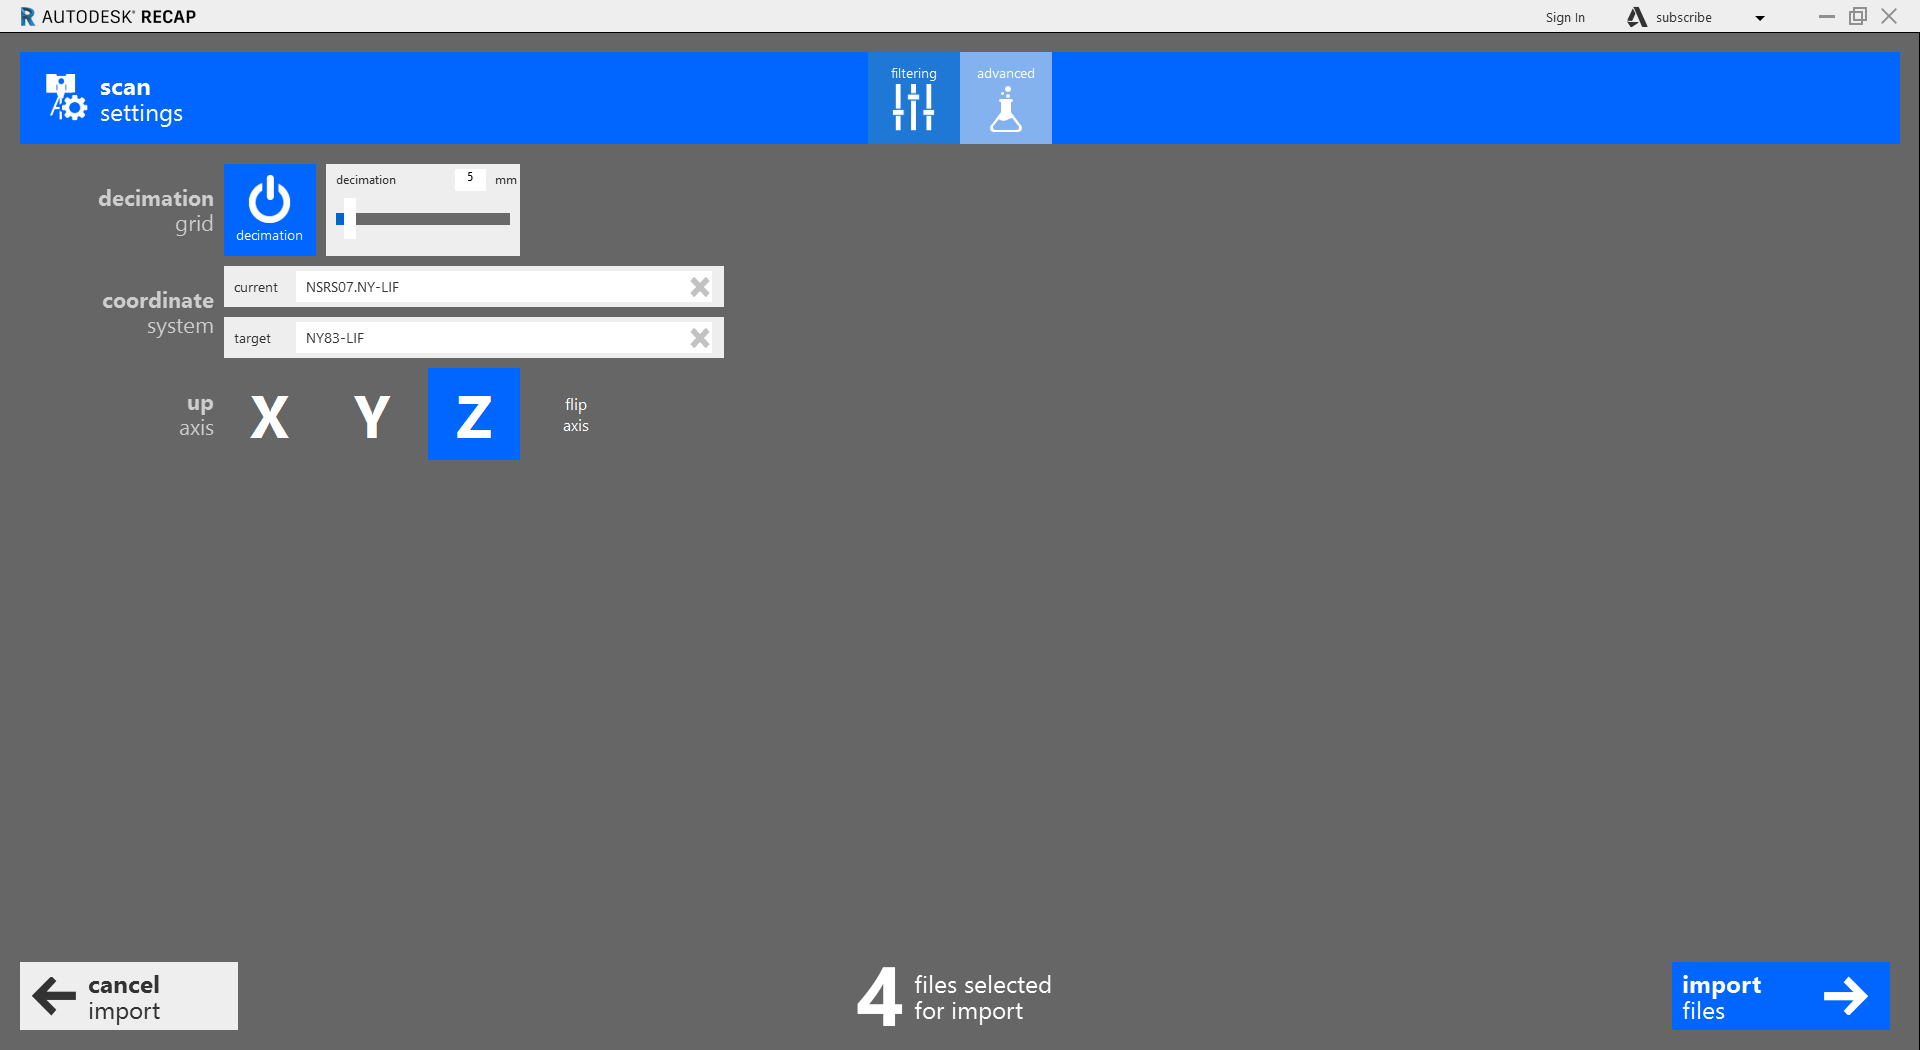
Since the site is in Queens, NY, I will be using the NY State Plane Coordinate System NY83-LIF. This datum, (North American Datum 1983, Long Island Zone, US Survey Feet) is used for the 5 boroughs of NYC and Long Island. After setting the coordinate system, select, Import files, then index scans, and when the files are indexed, click Launch Project.
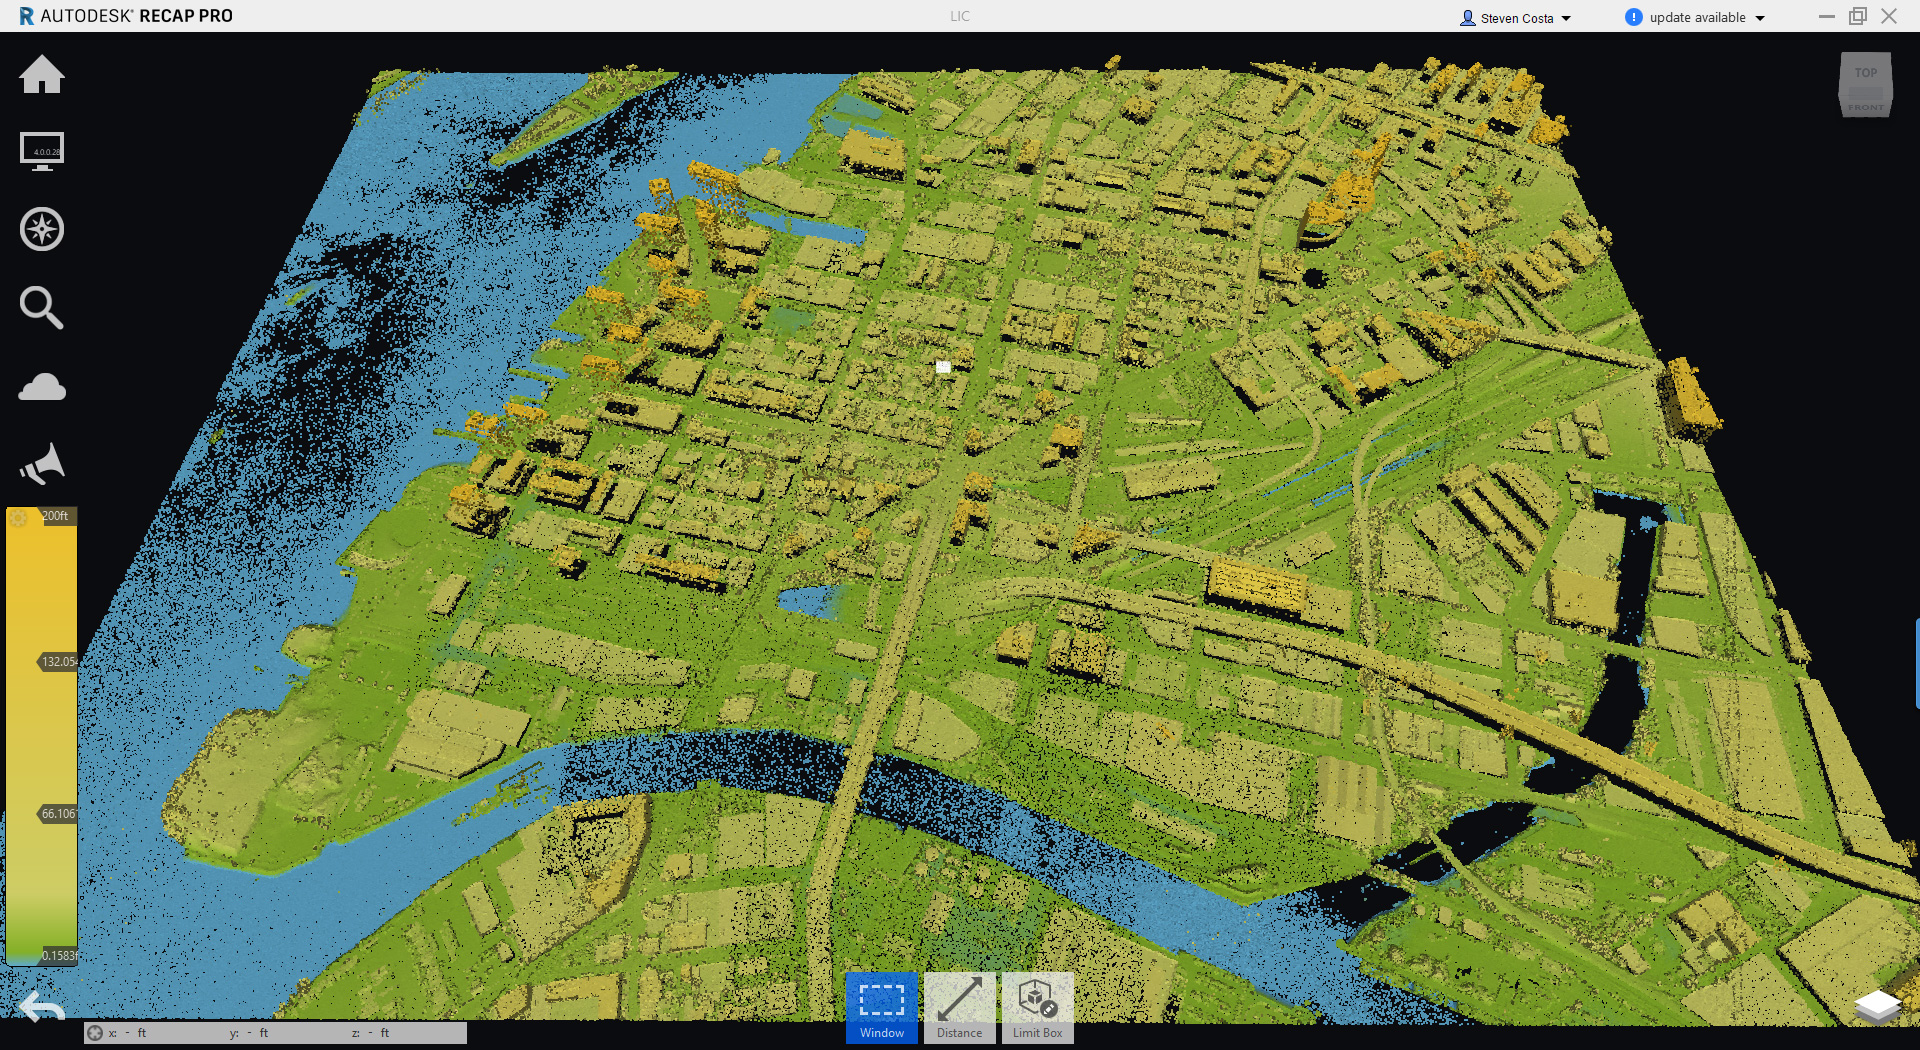
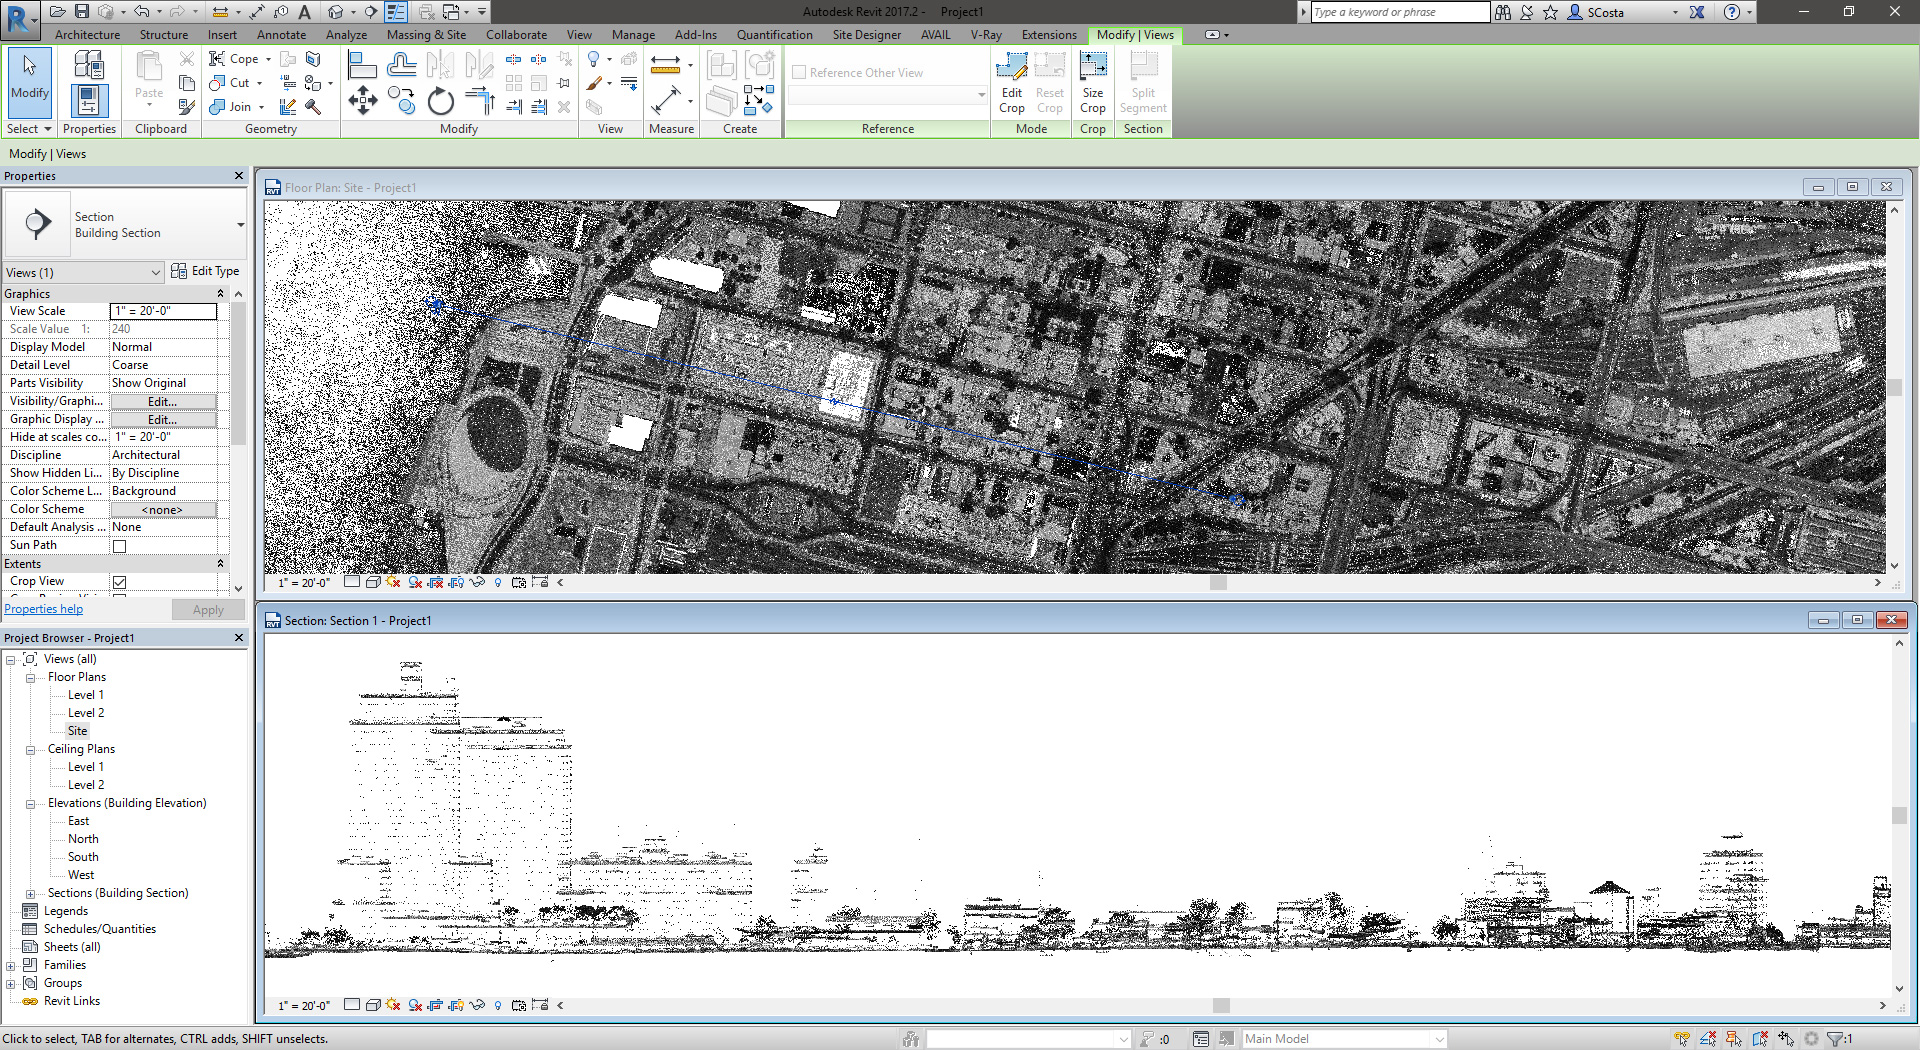
Once opened, save the project and you will have an RCP file you can link into products like Civil 3D, Revit, and Infraworks.
With Autodesk ReCap software you are able to create accurate 3D models with reality capture using laser scanning. This software, which lets you convert reality into a 3D model or 2D drawing, actually comes in two flavors: ReCap and ReCap Pro. This blog post is here to explain the differences between the two.
To access ReCap, you can start a free 30-day trial. Once those 30 days are up, you will have the option to subscribe to ReCap Pro or continue using the free features of ReCap. Check out the comparison matrix below to review the different features!
To learn more about each product, head to our ReCap or ReCap Pro product pages or contacts us directly at info@microsolresources.com.
| Products | ReCap | ReCap Pro |
| At a glance | Basic viewing and editing of reality capture data | Automated registration, stitching, and cleanup of scans
Access to UAV features
|
| Features | ||
| Laser Scan Features | ||
| Import scans in various formats | √ | √ |
| Real Views (panoramic visualization) | √ | √ |
| Point cloud viewing, editing and cleaning | √ | √ |
| Automatic registration | √ | |
| Accuracy reports & survey control | √ | |
| Target-based registration refinement and registration rollback | √ | |
| Photorealistic data visualization | √ | √ |
| Alignment of laser point clouds with photo-based point clouds | √ | √ |
| Real View States | √ | √ |
| Video tool | √ | |
| Advanced measurement tools | √ | |
| Markup and Tagging | √ | |
| Search and Sync | √ | √ |
| Access to cleanup service (with 3.0) | √ | |
| Access to scan-to-mesh service (with 3.0) | √ | |
| Batch project creation from input files | √ | |
| Export in various formats (RCP/RCS, E57, PTS, PCG) | √ | √ |
| UAV Features | ||
| Import photos in any rectilinear format | √ | |
| Import GoPro images (Hero 3+ and Hero 4 Black Editions) | √ | |
| Support GPS tags in EXIFs to automatically scale and geolocate the scene | √ | |
| Import Ground Control Points in X, Y, Z, ECEF & LLA – WGS84 formats | √ | |
| Automatic photo-to-mesh in RCM, OBJ, FBX formats | √ | |
| Automatic photo-to-orthoview and depth map | √ | |
| Automatic photo-point cloud in RCP/RCS format | √ | |
| Add images and manual stitch | √ | |
| Web preview of the computed 3D mesh | √ | |
| Possibility to run multiple projects in parallel | √ | |
| Sharing and Collaboration | ||
| ReCap 360 dashboard & A360 cloud storage, sharing and collaboration tools | √ | √ |
| Mark up, sync, and search laser scans in A360 | √ | |

Features the latest informative and technical content provided by our industry experts for designers, engineers, and construction firms and facility owners.
LEARN MORESTAY IN TOUCH